If the monthly website bill no longer makes sense
Website builders and hosted portfolio services are useful because they put the editor, design templates and hosting in one place. But that convenience comes with a continuing subscription. If money is tight and you only need a portfolio, service page or straightforward business website, paying every month just to keep the page available can feel difficult to justify.
The alternative is not ‘learn to code for six months’. You can ask Codex or Claude Code to create the website files with you, use Firebase to put those files online, and keep your domain in an account you control. If you later change tools or hosting company, the site does not have to disappear because you still have the files.
There are still possible costs. A domain normally renews each year, and the AI tool you use may have a subscription or usage charge. Firebase also has usage limits. The aim is not to promise a magically free internet; it is to remove the website-builder subscription as the thing holding your site together.
First, understand the three simple parts
Your website is made from three things. The website files contain your words, images and design. Hosting is the service that makes those files visible online. The domain is the address people type, such as yourname.com. Most website-building services bundle all three into one experience, which is why leaving can feel more complicated than it really is.
In this setup, Codex or Claude Code helps make the files. Firebase Hosting puts them online. Cloudflare looks after the domain and tells it where the site lives. You do not need to understand the machinery inside each service; you only need to know which job each one is doing.
This route suits a simple portfolio, brochure site, landing page or small-business website. If you need a large shop, membership system, customer accounts or somewhere to store sensitive information, get technical help before treating it as a simple DIY build.
Step one: gather the material for your page
Before opening an AI tool, make one folder containing what the website needs: your logo, a short introduction, the services you offer, examples of your work, a few testimonials, contact details and the photographs you want to use. Look at your current site and save anything you are allowed to keep before cancelling the service.
Decide what you want a visitor to do. They might email you, request a quote, book a call or look through your work. Pick one main action. A clear sentence such as ‘Help a potential client understand what I offer and encourage them to request a quote’ gives the AI something much more useful to work towards than ‘make me a nice website’.
You can also save links or screenshots of two or three websites you like. Explain what you like about them—the large type, simple colours, generous spacing or clear project images—so the agent understands your taste without copying somebody else's site.
Step two: ask Codex or Claude Code to build it with you
Codex and Claude Code are AI coding tools. They can open a project folder, create the files, show you a preview and fix problems. You can speak to them in ordinary language. You do not need to know the right programming vocabulary before you begin.
Start with a simple request: ‘Build me a one-page website using the material in this folder. Before you start, suggest the page sections and ask me to approve them. Make it work on phones and computers. Do not invent any claims, testimonials or contact details.’ Then review the suggested structure before it builds anything.
Work in small rounds. Ask it to change the headline, move a project, make the text easier to read or simplify the colours. If you do not understand something, say: ‘Explain that without technical language and tell me what decision you need from me.’ The tool should support your judgement, not rush you past it.
Step three: look at the site before it goes online
Ask the agent to open a local preview. ‘Local’ simply means the website is running on your computer and is not public yet. Click every button, read every word and check every image. Then ask to see it at phone size as well as desktop size.
Tell the agent to run its checks and create a production build—the finished copy that will be uploaded. Ask it to explain any errors in plain English and fix them before moving on. Do not accept a technical success message as proof that the page looks right; you should be able to see and use the page yourself.
Keep the complete project folder somewhere safe and back it up. Those editable files are the important part. They mean you can return to Codex, Claude Code or a developer later without starting the website again.
Step four: give the site a home with Firebase
Firebase Hosting is a Google service that can put a simple website online. Create a Firebase account, make a new project and choose Hosting. Make sure you choose Firebase Hosting, not the separate product called App Hosting.
You will see some setup instructions. This is the point where the screen may start to look technical, but you can hand the instructions to Codex or Claude Code. Say: ‘Set this project up for Firebase Hosting, explain each change, show me a preview first and do not publish until I approve it.’ The agent can prepare the files and run the required commands from the website folder.
Firebase has a no-cost allowance that can be enough for a small, lightweight website, but it is not unlimited. Check which plan is selected, keep photographs sensibly sized and review the current pricing before adding extra Google services. If the site becomes popular or more complex, hosting may eventually cost money.
Step five: keep your web address under your control
Your domain is the address people already know, such as yourname.com. If it is registered through your current website provider, do not cancel it or let it expire. You can either leave the domain there for the moment and point it at the new site, or transfer it to a separate registrar when you are ready.
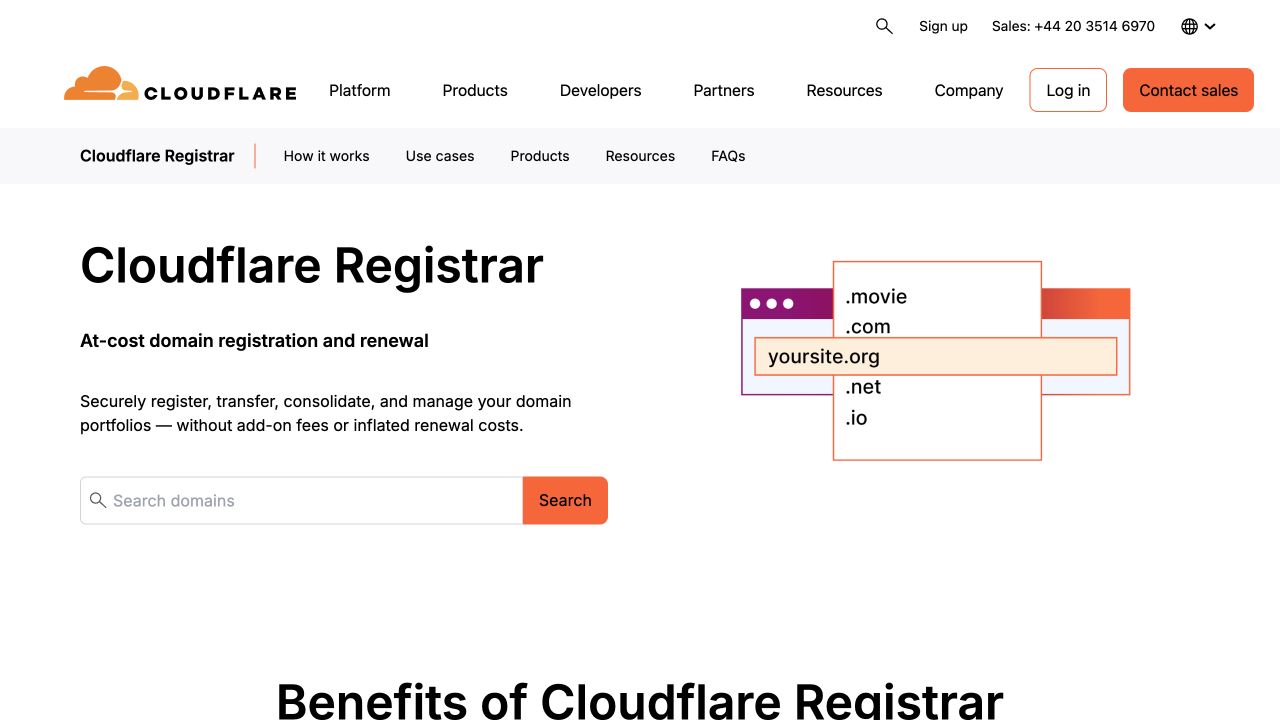
If you need a new domain, Cloudflare Registrar is one option. Search for the name, check the spelling, and look at both the first-year and renewal price before buying. The domain will normally remain an annual cost even if your monthly website-builder bill goes away.
Create the Cloudflare account in your own name, turn on two-step login security and keep the recovery details safe. Let the agent guide you, but approve the purchase yourself. Keeping the domain separate from the website host makes it easier to move the site again later.
Step six: connect the address to the website
This is the part called DNS. The name sounds technical, but its job is simple: it tells a web browser where your domain should go. Think of it as changing the delivery address for your website.
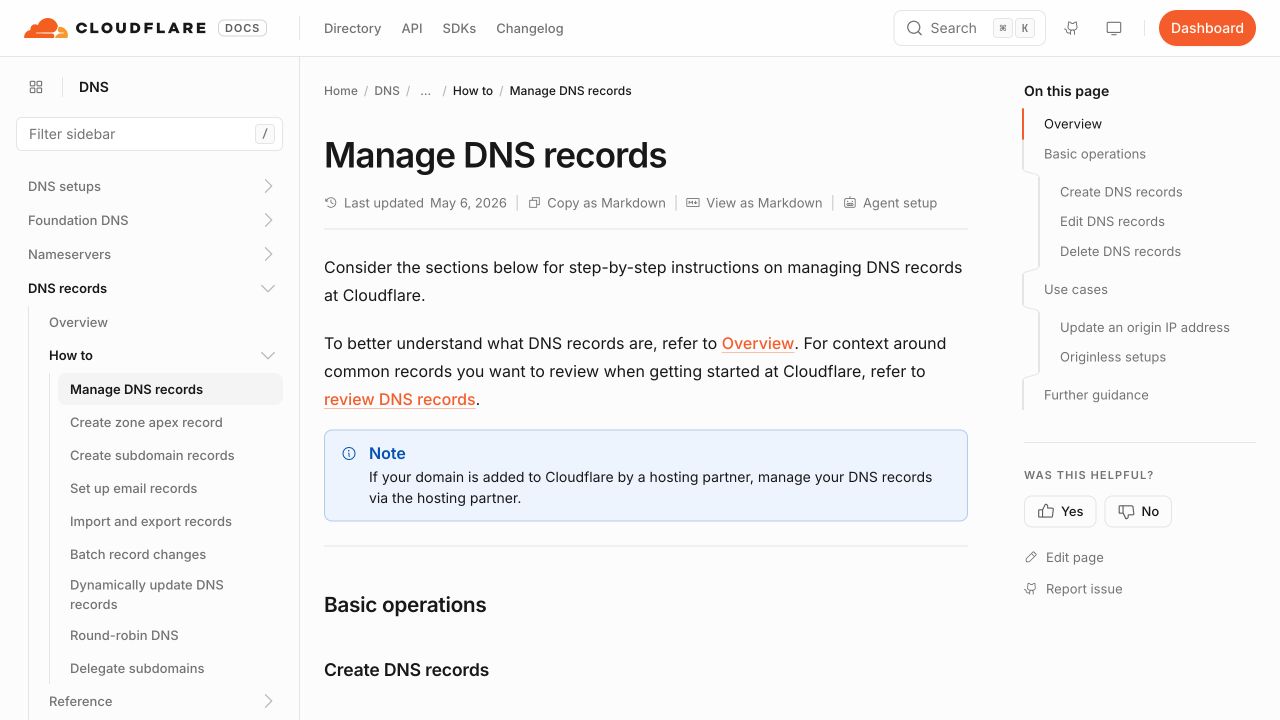
In Firebase Hosting, choose Add custom domain and type your domain. Firebase will show you one or more records—small pieces of text—to add. Open DNS Records in Cloudflare, choose Add record, and copy the type, name and value exactly as Firebase shows them. The values are unique to your site, so use the live instructions on your screen rather than copying numbers from a tutorial.
If you feel unsure, ask the agent to walk you through one field at a time and explain what it wants you to copy. Do not share passwords or give it permanent access to your Cloudflare account. After the records are saved, the connection and security certificate can take time to become ready; Firebase says it can take up to 24 hours.
Step seven: publish it, then check it like a customer
When Firebase shows that the domain is connected, ask the agent to publish the finished build. Before approving, ask it to confirm the Firebase project name and the folder it is uploading. This gives you one last chance to catch a simple mistake.
Open the real domain on your phone, preferably in a private browser window. Read the first screen, use the menu, open every project, press every button and send a safe test through the contact form. Check that the address begins with https and that both yourdomain.com and www.yourdomain.com lead to the right place.
Once the new site works, keep a backup of the project folder and write down how it is published. You now have a site that can be edited again and moved to another host if necessary. That is the useful meaning of ownership here.
You can do this yourself—or start with a map
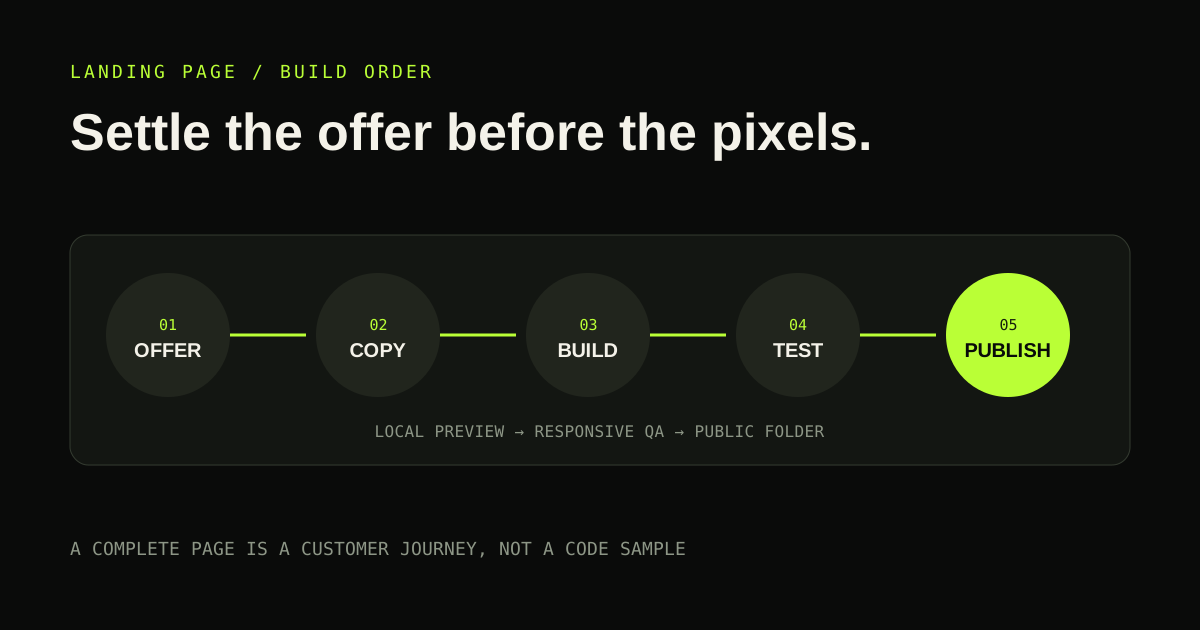
The whole journey is: gather your content, ask the AI to build the page, check it privately, put it on Firebase, connect your domain and test the live result. Taken one screen at a time, it is manageable. The difficult part is usually knowing what to ask for and what to check, not typing the commands.
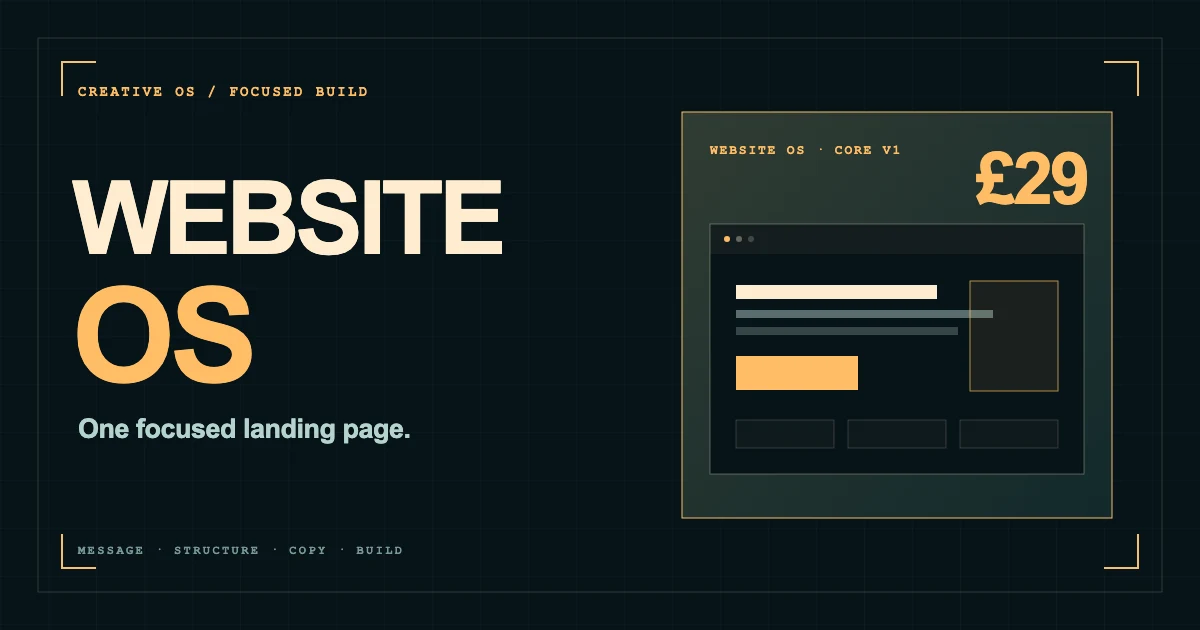
Website OS is my guided version of that process. You open it in Codex or Claude Code and it leads the project through your business brief, page message, design direction, responsive build, checks and publishing. It is designed for one focused landing page and costs £29 once, with no Website OS subscription.
If the blank prompt is what stops you, Website OS gives you a starting point and a sequence. If you are happy to assemble the steps yourself, use this article as the map. Either way, keep the project folder and the domain account under your control.
Build
Want someone to lay out the steps for you?
Website OS gives Codex or Claude Code a ready-made process for planning, designing, checking and publishing one focused landing page. It costs £29 once, with no Website OS subscription.
Launching a business of your own? Founder Launch OS connects the brand, offer, website and visual campaign in one guided Codex or Claude Code workspace.
Keep reading