Low-key is not an exposure plan
Google's Veo prompt guide asks filmmakers to describe whether light is warm and even or concentrated in a spotlight. Runway's Aleph guide asks for the light source, direction and quality when relighting footage. Those are useful controls, but words such as moody, dark, cinematic and chiaroscuro describe an impression rather than a repeatable distribution of values.
A generator can satisfy low-key by lowering the whole frame, crushing the room, dimming the face, clipping a window or inventing a hard practical that was not present in the master. The image may feel persuasive on its own and fail the moment it cuts against another angle. Exposure continuity is the relationship between important values, not a demand that every shot share the same average brightness.
Begin by deciding what the audience must read. It might be the near eye, the texture of a white shirt, the filament in a lamp, detail outside a window or the moment a face falls below visibility. Protect those decisions before describing atmosphere. Darkness is expressive only when the cinematographer controls what remains visible inside it.
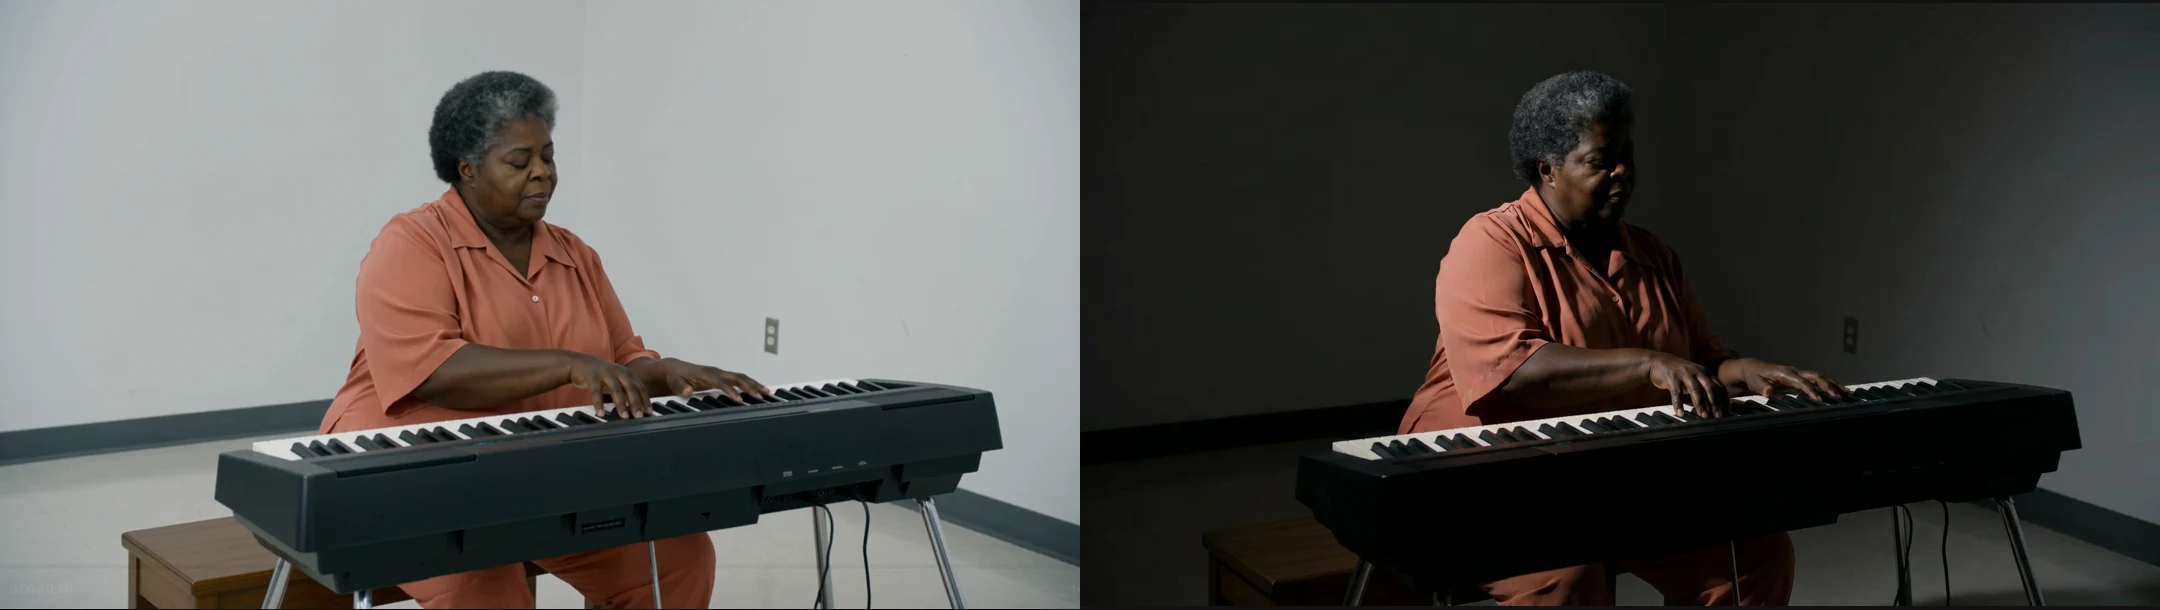
Write an exposure card with four anchors
For each setup family, record four anchors: the protected subject value, the highlight ceiling, the shadow floor and the behaviour of practical sources. Add the display transform or viewing condition used for review. This is not a request for the model to reproduce camera metadata it never captured. It is a visual contract for what the generated pixels must preserve.
A card might read: the lit side of the face stays comfortably below the white shirt; the window retains cloud texture rather than becoming a white panel; the unlit eye remains readable but the rear wall may fall to black; the table lamp stays warm, never clips to a featureless disc and does not brighten as the camera approaches. Those relationships can be checked in every frame without pretending the model obeyed a physical T-stop.
Separate fixed anchors from designed changes. A character may deliberately cross from window light into silhouette, a neon sign may pulse, or an explosion may lift the entire room. Record the cue, its direction and its duration. An intended exposure event is not drift; an unmotivated value change before or after the cue is.
Use the source frame as the first exposure decision
Runway's current image-to-video guidance says the input image defines composition, subject matter, lighting and style, while the prompt should concentrate on motion and temporal progression. That makes the approved first frame more authoritative than a paragraph asking the model to keep the light unchanged. If its highlight is already clipped or its face already too low, animation will inherit and often amplify the problem.
Prepare the frame at the intended viewing transform and output aspect ratio. Check the face, brightest object, deepest important shadow and every visible practical before upload. Avoid baked-in gradients, compression blocks or denoising smears that could be interpreted as illumination. Keep the untouched source, the prepared input and the generated output as separate files so a later relight does not erase the exposure decision that began the shot.
First-and-last-frame controls can define an exposure change, but both images need to belong to the same lighting logic. If the end frame is brighter only because it came from a different grade, the model may invent a dimmer, flare or moving source to bridge them. Match the underlying scene first; use the frame pair to express a motivated cue, not to repair inconsistent references.
Measure the anchors without turning the image into a number
ARRI describes false colour as a way to judge subject exposure while seeing technical limits such as the noise floor and clipping range. Its LogC specification marks 18% middle grey, one stop above middle grey, the edge of shadow detail, the noise floor and regions close to clipping. The important lesson for generated media is the separation of categories: a protected subject value is not the same problem as a clipped highlight or a buried shadow.
Generated video has no recoverable camera negative behind it. A waveform or false-colour view measures the delivered pixels after the chosen transform; it cannot reveal highlight detail that the model never created. Use scopes to compare regions and detect change, not to claim a synthetic frame was exposed at a particular exposure index or to force every skin tone into one target band.
Define small regions of interest that survive the shot: a cheek, shirt, window, wall and lamp shade. Note their starting relationship, then inspect the same areas at fixed temporal checkpoints. The ASC's exposure guidance returns repeatedly to testing and quantitative measurement, but the creative placement remains a cinematographer's decision. Scopes make a decision repeatable; they do not make it for you.
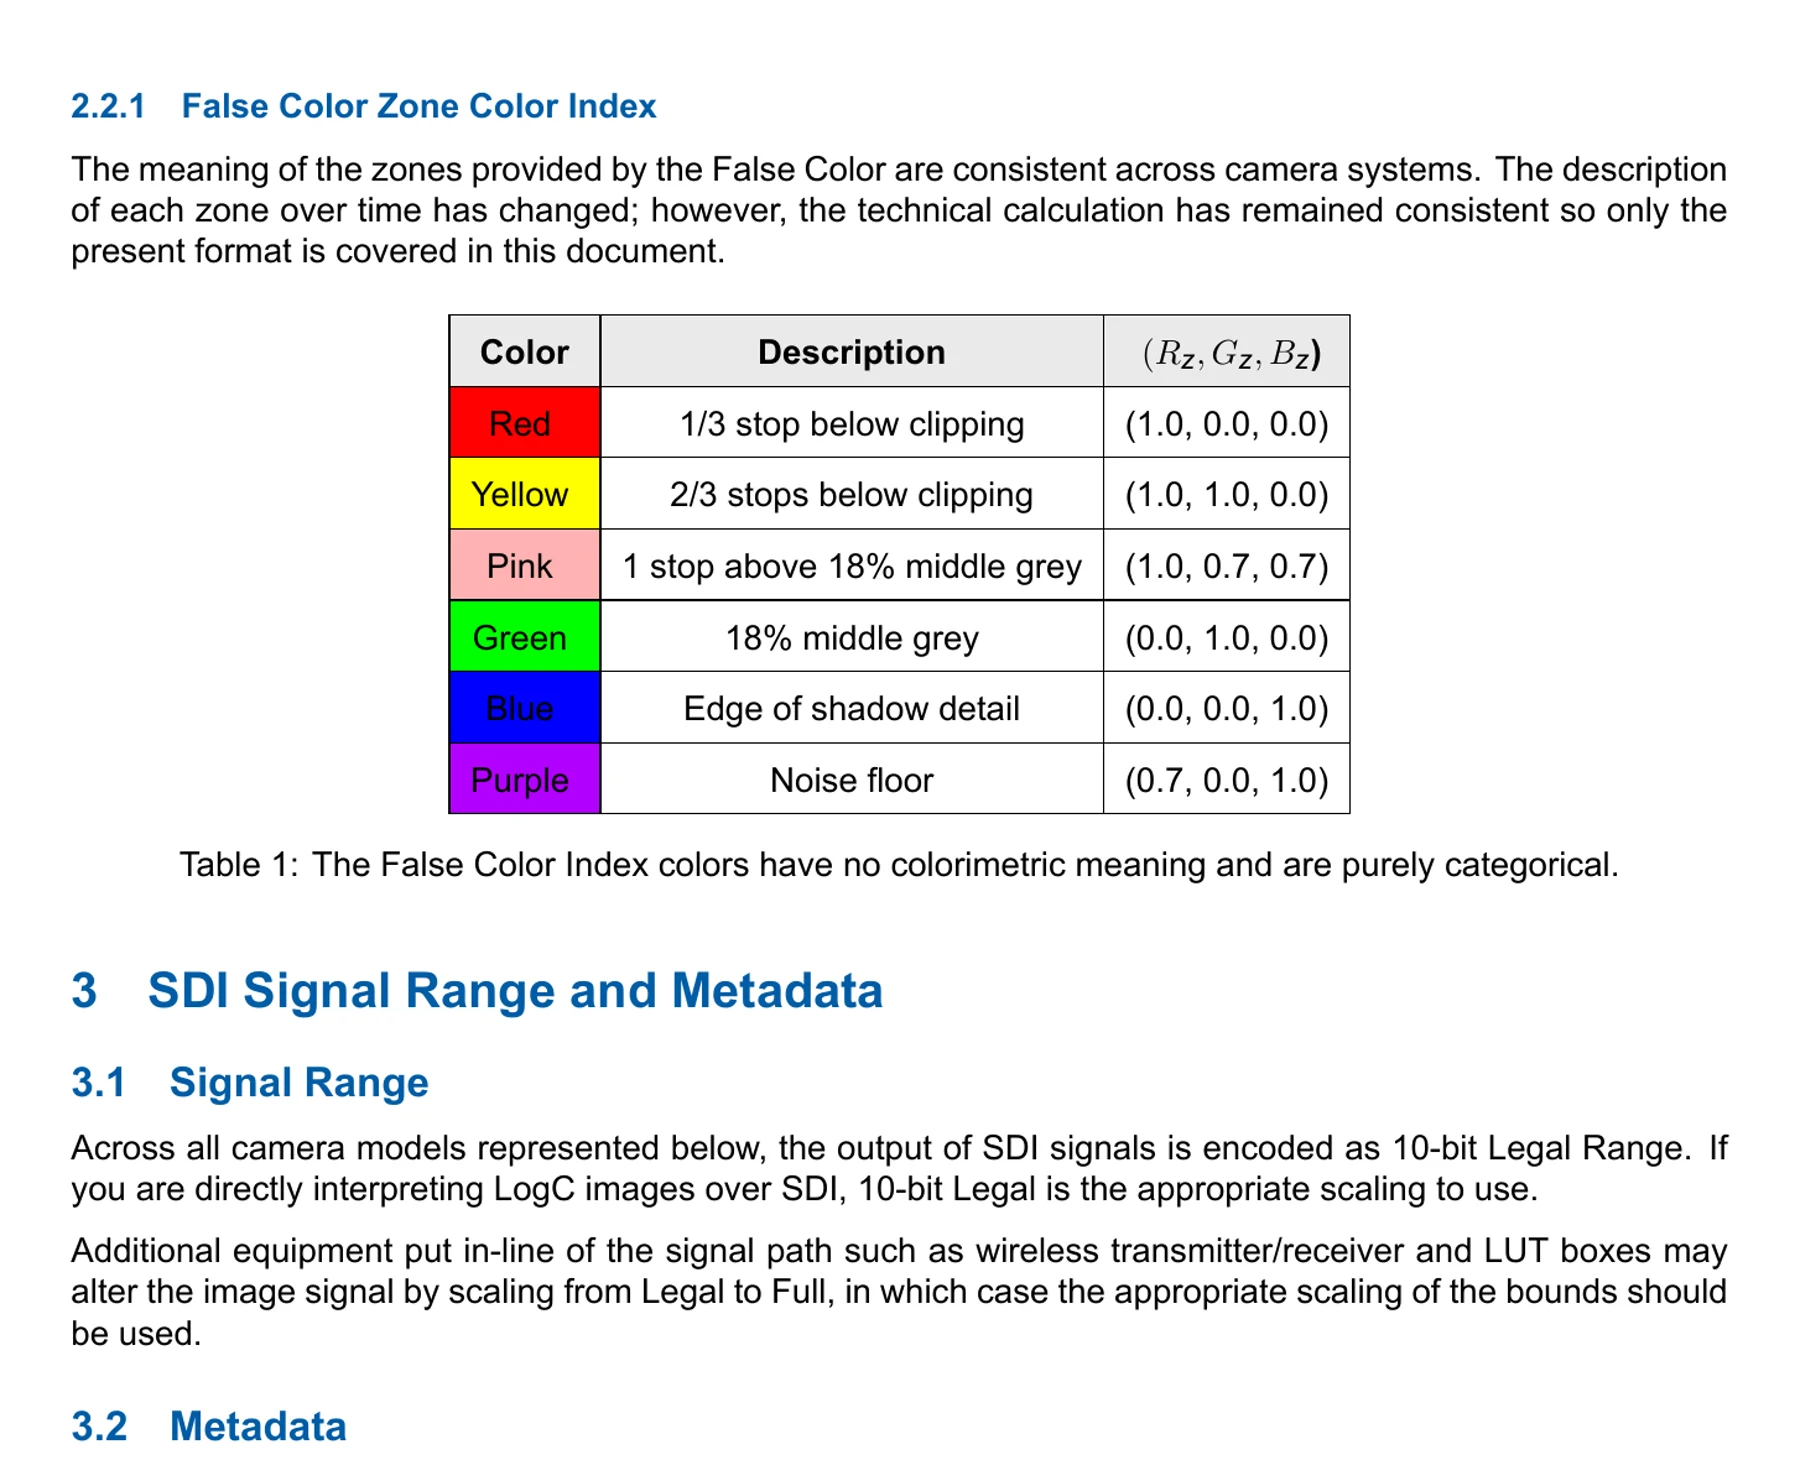
Review the exposure across time, not on the hero frame
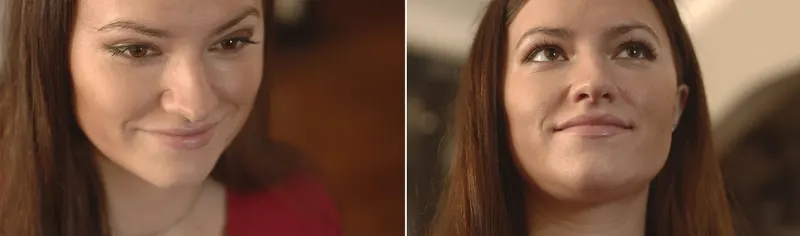
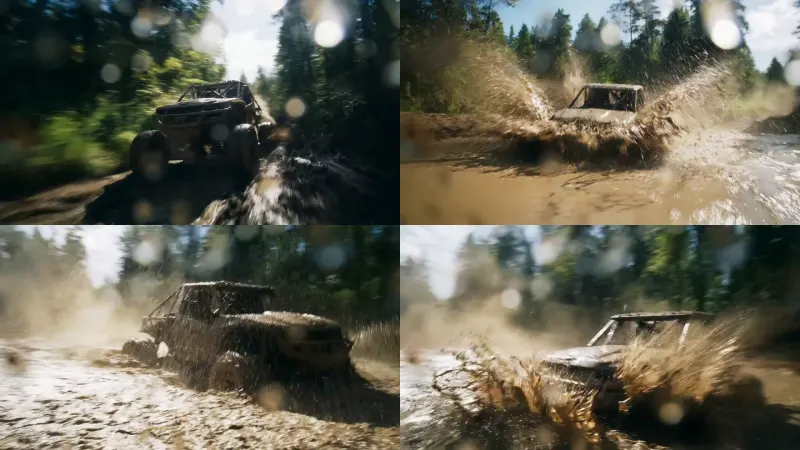
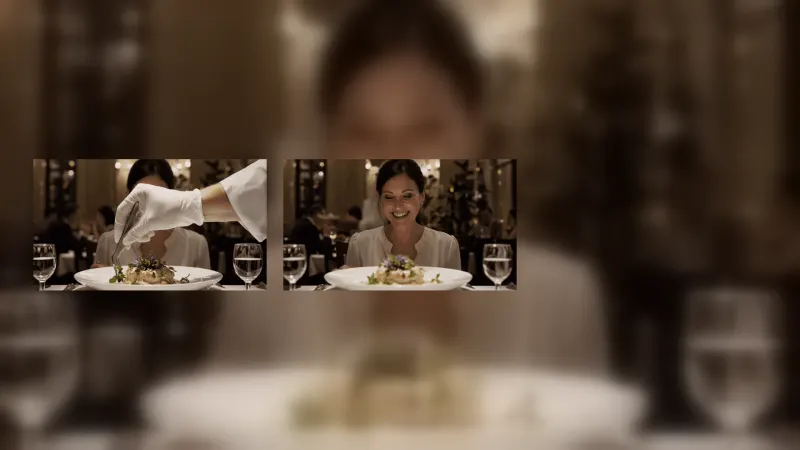
A selected still can hide the failure. As a subject turns, walks toward camera or passes a practical, a model may lift the face to keep it attractive, lower the background to increase contrast or brighten the key as the crop tightens. Those changes can feel like automatic exposure even when the intended camera and sources were locked.
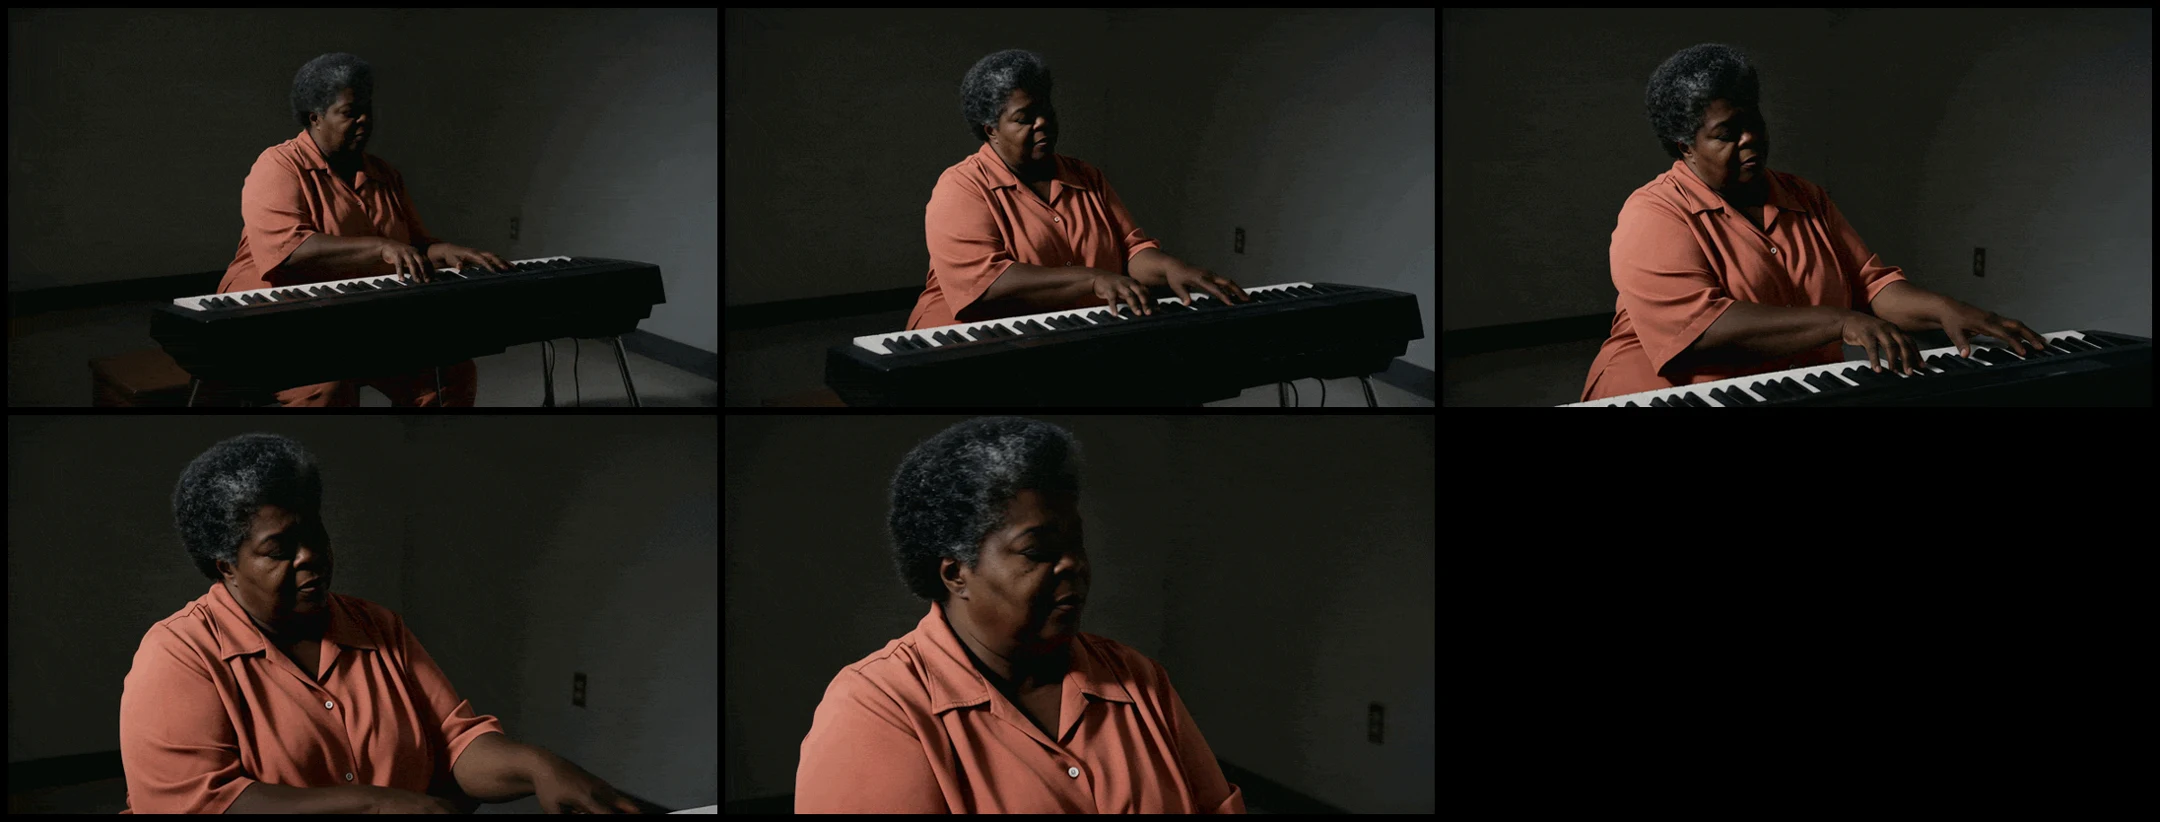
Build a contact sheet at the start, quarter, midpoint, three-quarter and end of every candidate. Compare the four exposure anchors first, then watch the clip at delivery speed for flicker, pumping, local relighting around a face, moving shadow edges and practicals that change output without a cue. Check the cut before admiring the isolated shot.
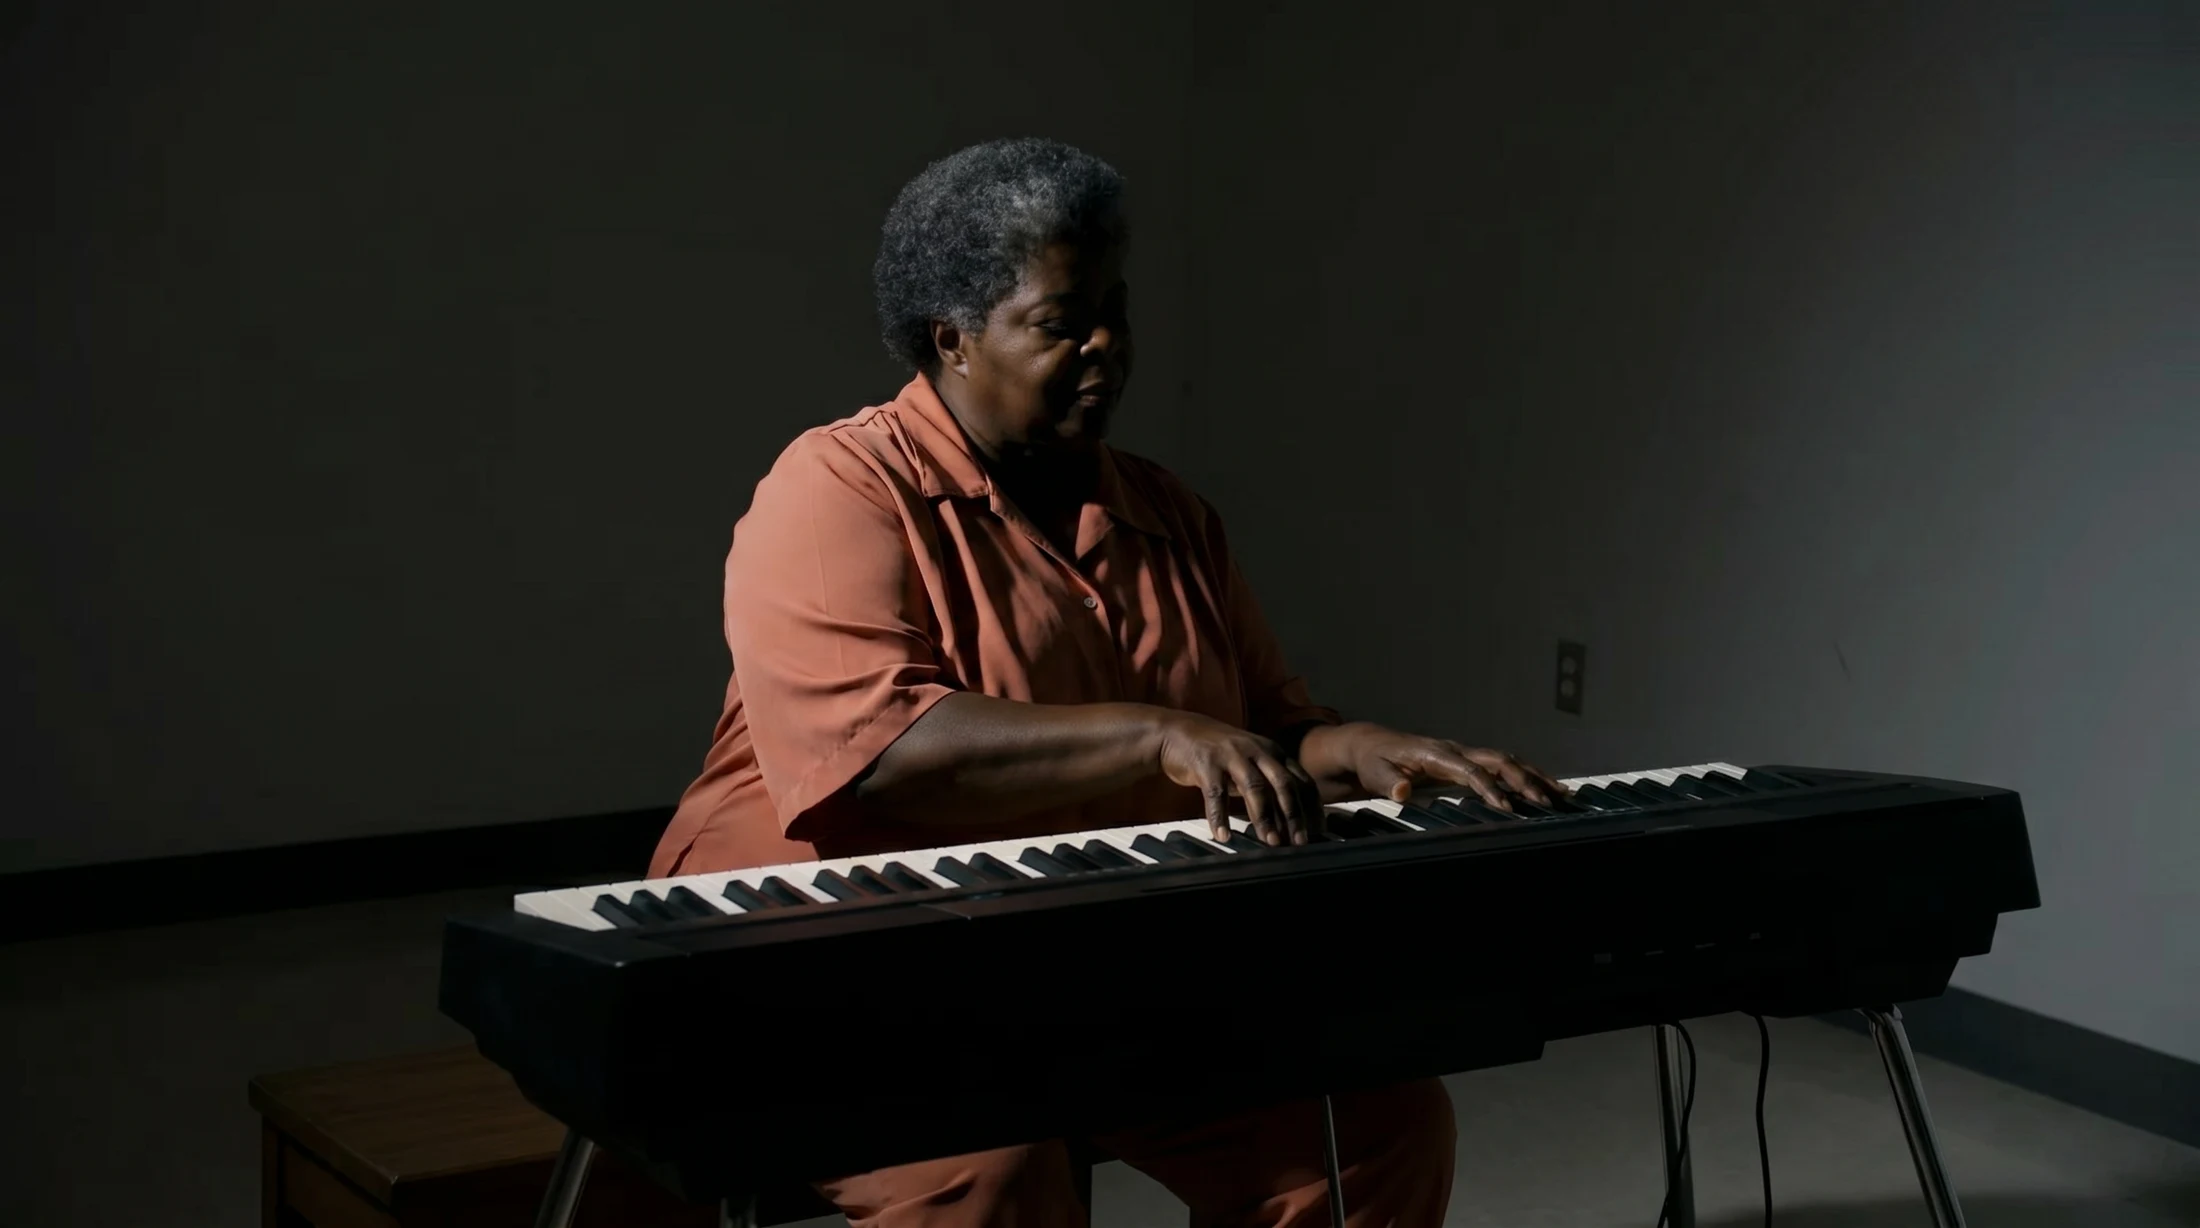
Runway's official example below holds a recognisable chiaroscuro pattern while the performer and camera move, but the face, shirt and background still change their share of the frame. The contact sheet is useful because it turns a seven-second impression into five comparable exposure states. Use the same method on rejected takes and name the exact point where the structure breaks.
Match exposure logic across coverage
A master, single and reverse do not need identical waveforms. They need the same source logic. Mark which side of each face receives the key, which practical motivates it, whether a window is held or allowed to clip and how far the room falls below the subjects. When the camera crosses the room, the relative size and intensity of sources may change; their direction and narrative function should not reset with each prompt.
Generate a neutral reference pass for the setup before pursuing dramatic variations. Then change one exposure variable at a time: lower the ambient floor, harden the key, allow the window to bloom or move the performer through a cue. Adobe Firefly exposes first and last frames, camera settings, style and seed as separate controls; preserve the exact settings and frame inputs alongside the prompt so a successful exposure structure can be tested again rather than remembered as a lucky phrase.
Relighting is especially likely to move more than exposure. It can alter skin texture, hair edges, wall geometry, reflections and the apparent material of wardrobe. Review identity and structure after the exposure pass. A more dramatic light is not an acceptable correction if it quietly changes the performer or set.
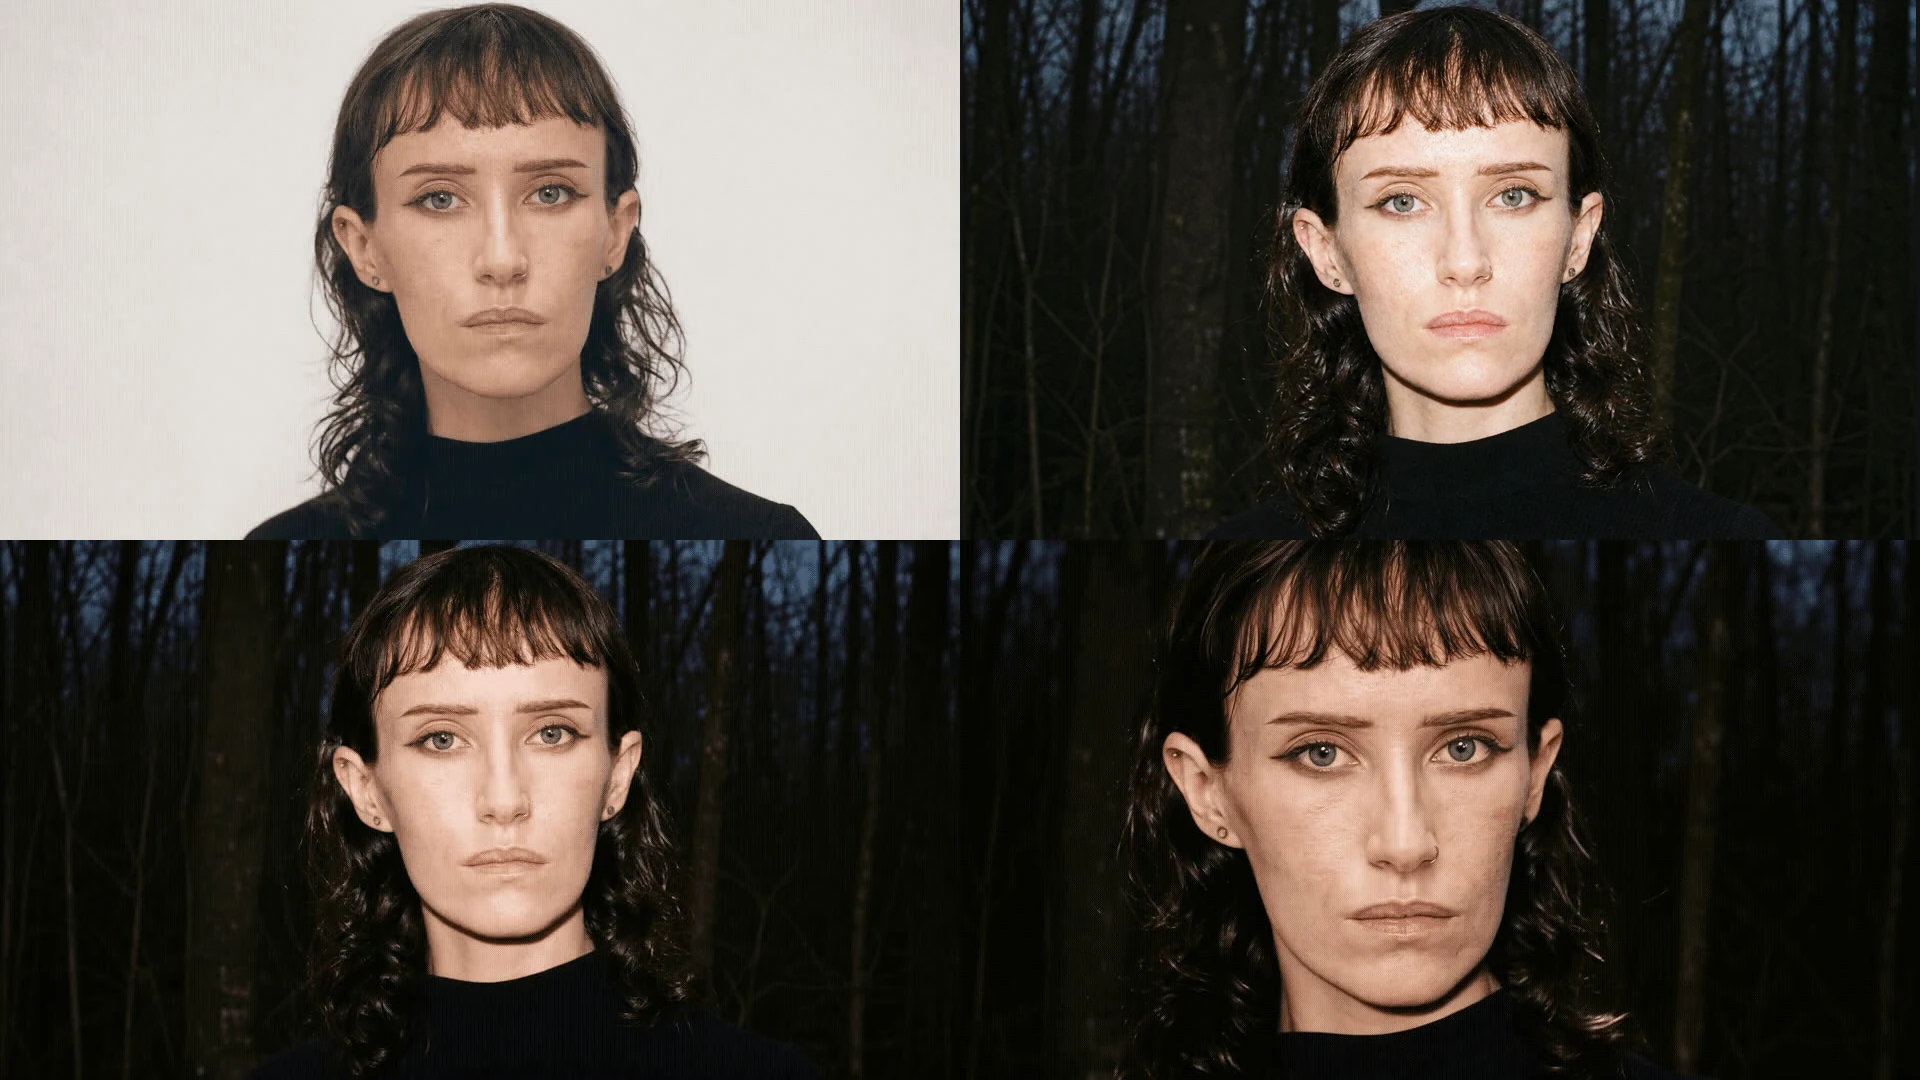
Run a controlled exposure matrix before the sequence
Choose one setup containing a face, a light garment, a deep textured shadow, a bright window and a practical. Hold character, action, camera, duration, aspect ratio and model settings constant. Create five versions: the approved baseline; lower ambient floor; brighter subject; held highlights; and one motivated practical cue. Do not combine all corrections in the first test.
Score each version for subject-anchor stability, highlight retention, shadow readability, practical consistency, unmotivated temporal pumping, identity drift and whether it cuts with the baseline. Record attempts to acceptance and the time spent relighting or grading. Reject a clip at the first structural failure instead of polishing its colour and texture before discovering that the face floats through the shot.
Then build a three-shot test: master, single and reverse. Review once with scopes, once without scopes at the intended display brightness and once in sequence. The winner is not necessarily the darkest or most cinematic thumbnail. It is the route that preserves the chosen hierarchy of light while framing and performance change.
Buy controllable tonal relationships, not darker pictures
For client review, present the exposure card, five-frame contact sheet and cut together. Ask first whether the audience can read what the scene requires, then whether the highlight and shadow boundaries remain intentional, then whether the lighting behaves as a believable system. Only after those passes should the conversation move to polish, grain or a broader look.
Track first-pass exposure adherence, temporal drift, attempts per accepted clip, shot-to-shot correction time and the percentage of approved clips that survive the final grade and delivery transform. A relight tool can save a reshoot or reopen a creative option, but its value disappears if every angle needs manual rescue or if a client cannot distinguish an intended cue from model instability.
The buyer implication comes last because the craft test defines the purchase. Do not evaluate an AI video system by whether it can make one flat image moodier. Evaluate whether a cinematographer can name the important values, hold them through movement, repeat them across coverage and deliver a cut whose exposure changes only when the story asks it to.
Build
Need a repeatable AI production workflow?
Mike designs the tools, review loops, and publishing systems that make it usable.
Launching a business of your own? Founder Launch OS connects the brand, offer, website and visual campaign in one guided Codex or Claude Code workspace.
Keep reading