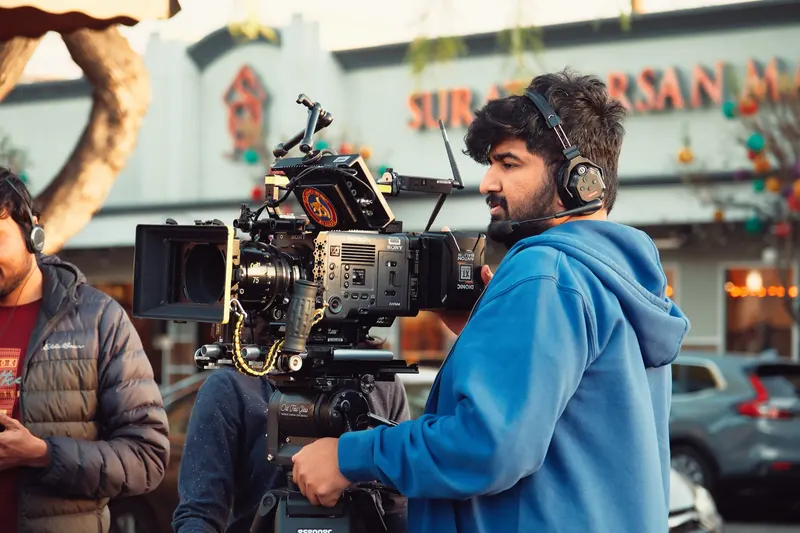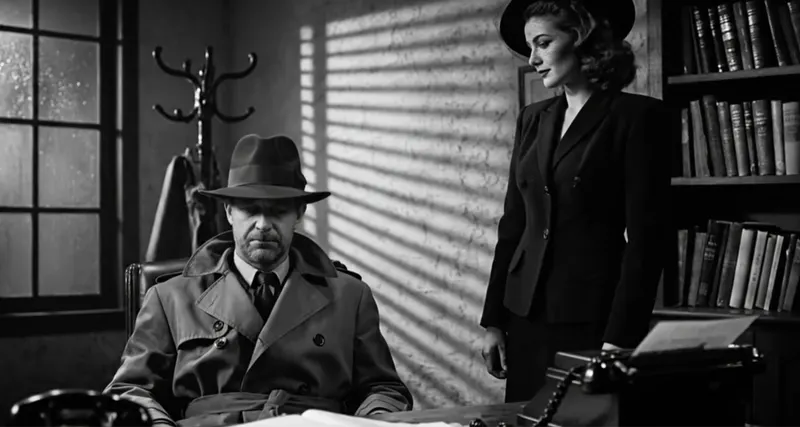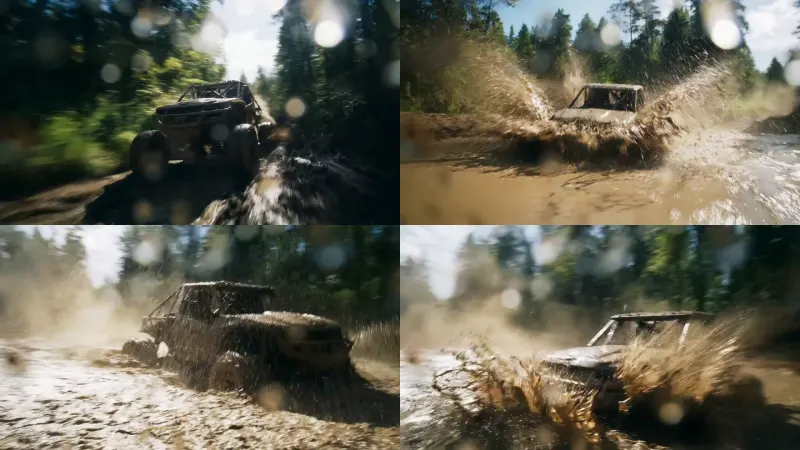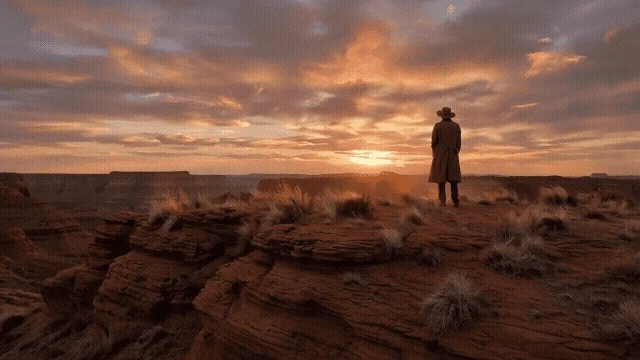
A medium shot only tells you where the frame ends
Adobe Firefly's current video controls make the interface problem visible. A user can choose a shot size from extreme close-up to extreme long, then choose an aerial, eye-level, high, low or top-down angle. Runway's camera library similarly separates framing, angle, composition, movement and focus terms. These are useful controls, but a medium shot still does not tell us whether the camera feels close on a wider lens or farther away on a longer one.
Those two setups can hold a face at roughly the same size while producing very different relationships. Close camera placement exaggerates the distance from nose to ears and lets the background fall away. Moving back reduces that near-far difference; a narrower field of view then includes less background, which can make distant planes appear compressed behind the subject. The emotional result changes even though the edit still calls both images a medium close-up.
This distinction matters because a generator may satisfy the crop while improvising the space. Across a sequence, the face can broaden and flatten, the room can expand and contract, foreground objects can jump in scale and a reverse angle can feel as if the operator crossed the set. The defect is not simply inconsistency. It is an unmade cinematography decision.
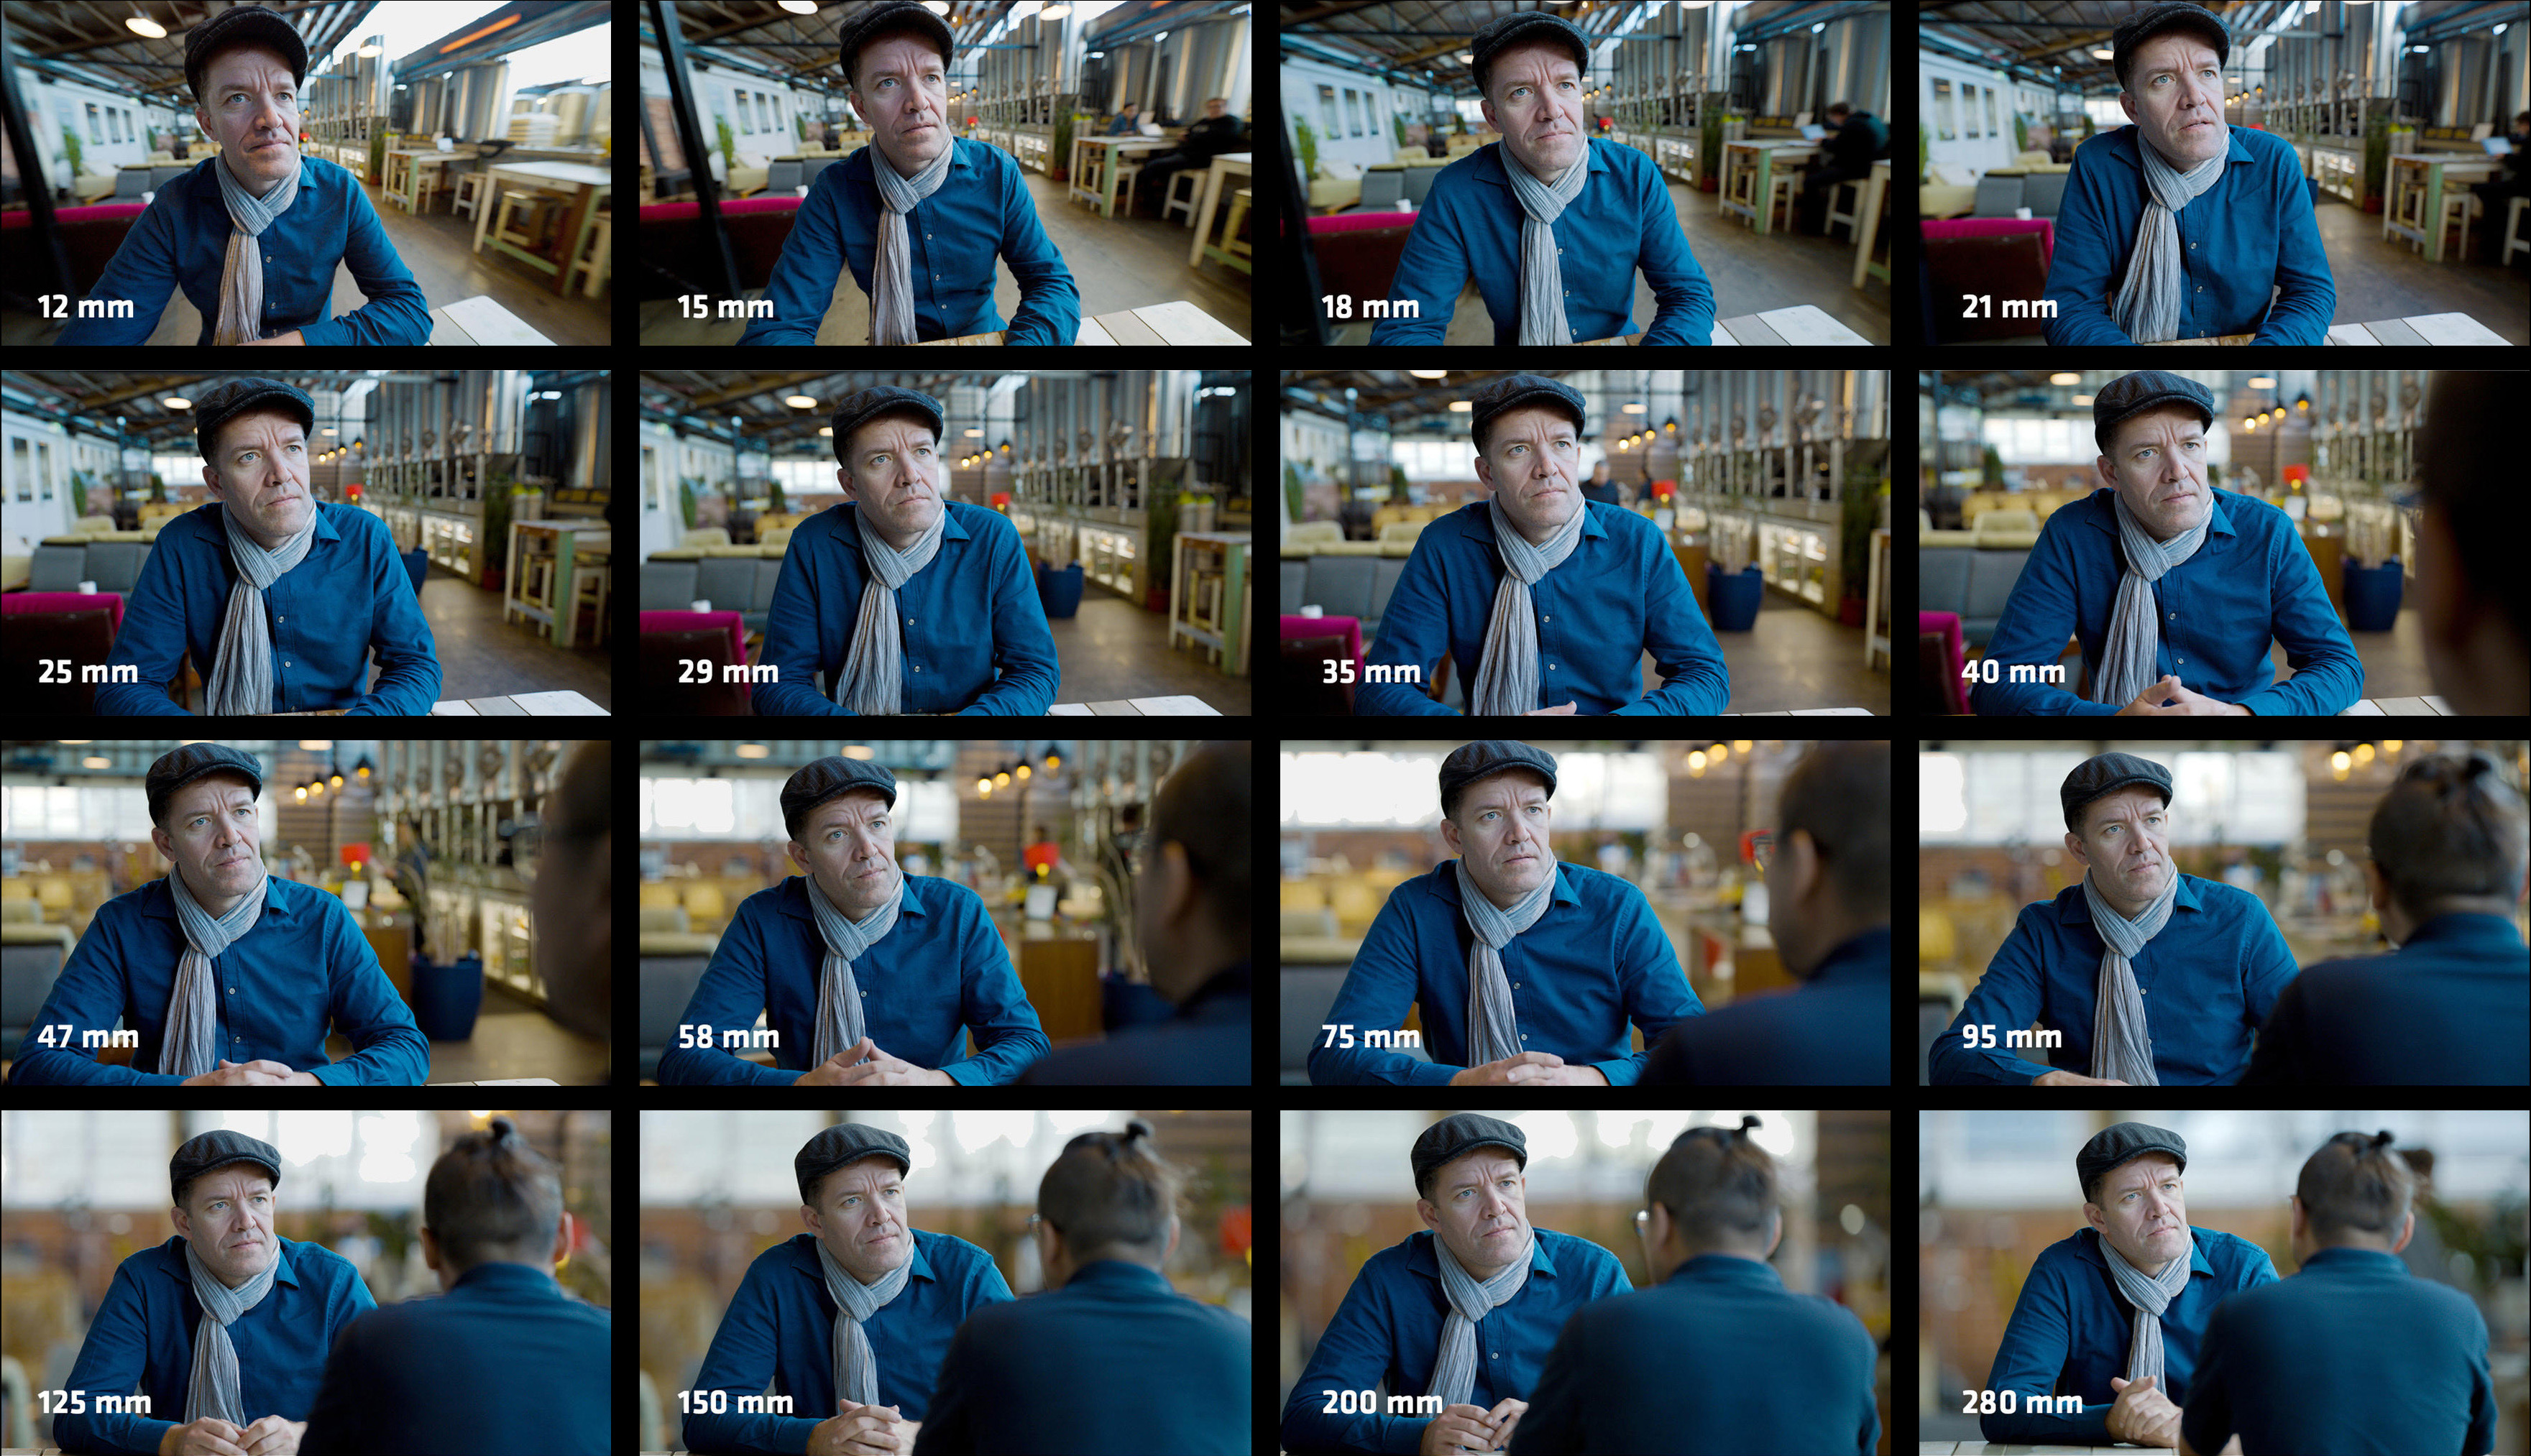
Describe geometry before you name a focal length
A millimetre value is meaningful only with a capture format and camera position. ARRI's ALEXA LF guidance notes that matching the angle of view of a Super 35 setup on a larger-format camera requires a longer focal length. In a generative model there may be no disclosed physical sensor or optical simulation at all, so 35mm or 85mm is best treated as visual shorthand rather than reliable metadata.
Start with the observable result. Record subject size in frame; apparent camera height; camera-to-subject intimacy; foreground scale; separation between subject and background; how much of the environment is visible; edge stretch; facial rendering; depth-of-field character; and whether the frame should feel expansive, neutral or compressed. Then add a familiar focal-length family as supporting language: close wide, normal perspective or distant long-lens observation.
For example: medium close-up, camera physically close at seated eye level, slight wide-angle perspective, hands large in the lower foreground, face natural rather than caricatured, walls visibly receding, background figures small, no edge warping, locked camera. That instruction gives the model several visible relationships to solve. A bare 24mm prompt gives it one number whose meaning may be unstable.
Build one lens card for every scene
Create a lens card before generating coverage. Give the scene a viewpoint rule, not a bag of attractive lens labels. Record the intended capture-format reference if it matters; preferred focal-length family; permitted range; camera distance or intimacy; subject size; camera height; foreground, subject and background anchors; depth-of-field behaviour; distortion tolerance; movement rule; and the features that must match between shots.
A dialogue scene might use a neutral eye-level viewpoint, 40mm-to-50mm full-frame-equivalent character, camera beyond conversational distance, clean verticals, modest foreground shoulders, readable room depth and restrained separation. The close-up may move physically closer while preserving that family. The observer's angle might move farther away and compress the room. Those are motivated variations inside a system, not random prompt changes.
Attach one approved still for each viewpoint family. Reference images carry composition more directly than prose, but check what the selected tool disables when a frame is supplied. Adobe documents that adding first or last frames can make shot-size and angle controls unavailable. The frame then becomes the geometry instruction, so its perspective, crop and depth layers need to be right before animation begins.
Keep camera position stable across coverage
Generate the master wide or two-shot first and mark a simple overhead plan. Place the camera, subject, foreground anchor and two recognisable background features. For every setup, state which relationships are allowed to change. A close-up can narrow the field of view while retaining eye line and background direction, or it can move physically closer for deliberate intimacy. Do not let the model choose between those methods invisibly.
When prompting a reverse, describe the new camera position relative to the performers and room rather than asking for the opposite angle. Protect screen direction, eye-line height, near shoulder, background landmark and light direction. If the background becomes larger and flatter in one close-up, make that a chosen long-lens family for both sides or reject it as a continuity change.
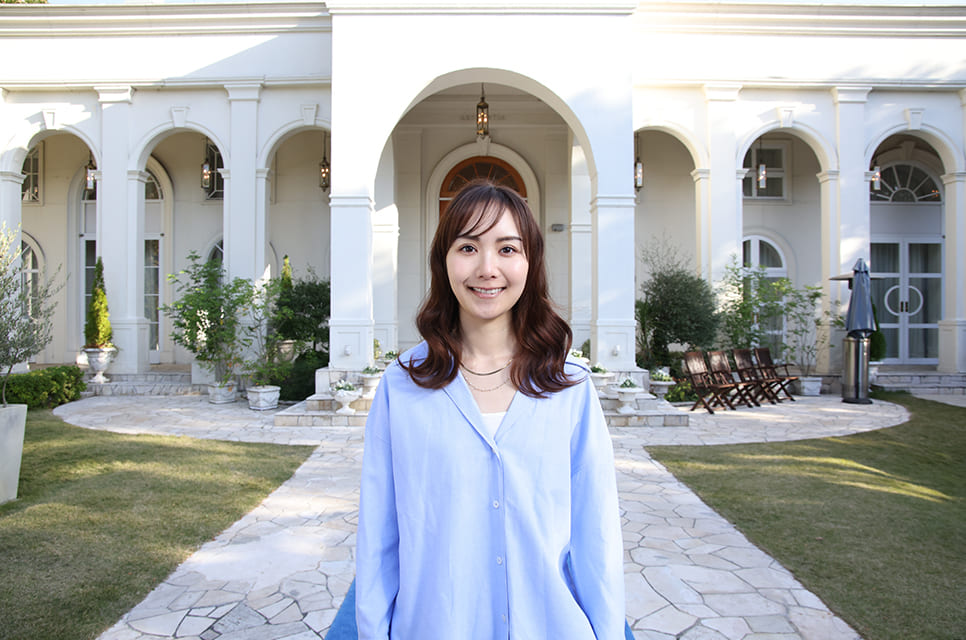
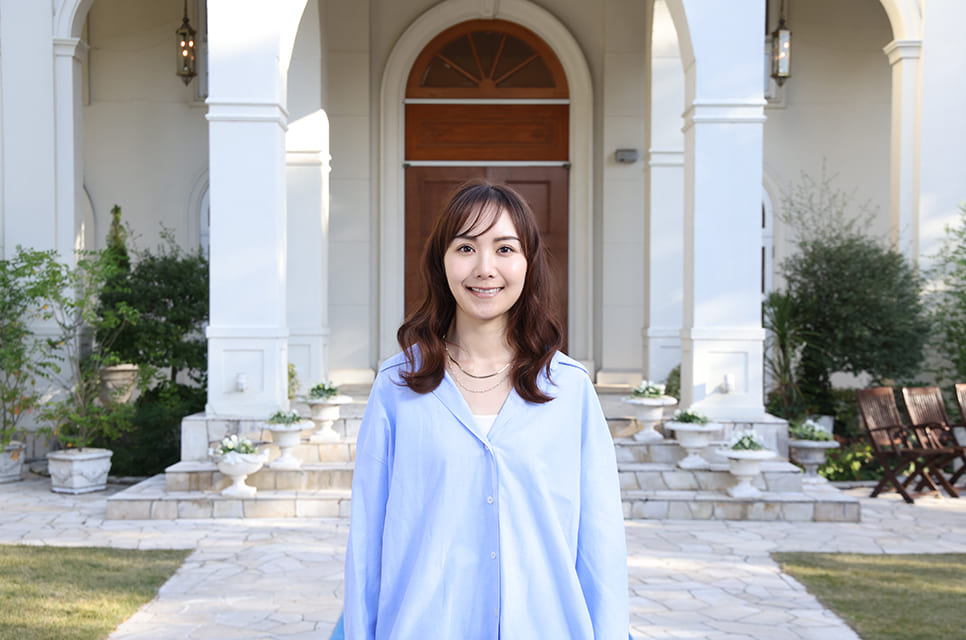
Use the neutral setup as the control image. Canon's 50mm example places the camera two metres from the same subject and holds a similar figure size. Compared with the 24mm view, less architecture enters the frame and the face-to-background relationship is calmer. The point is not that 50mm is correct. It is that the spatial rule is visible enough to match.
Separate a dolly from a zoom before adding motion
Runway's camera guide defines a zoom as a focal-length change that makes the subject appear closer or farther. A dolly or push-in moves the camera through the scene. Both can enlarge a face, but only the physical move changes parallax between foreground, subject and background. If a prompt uses push in, zoom in and close-up as interchangeable emphasis words, the model may blend three different operations.
State the invariant. For a dolly-in: camera translates forward, foreground crosses the frame faster than the background, subject grows, perspective changes continuously, focal-length character remains constant. For a zoom-in: camera position stays fixed, subject and background enlarge together, no new parallax, optical field of view narrows. For a dolly zoom: camera retreats while field of view narrows so subject size stays approximately fixed and the background changes scale.
Review the move using three frames—start, midpoint and end—then watch at delivery speed. Track the relative positions of foreground edges and background landmarks. If the requested dolly behaves like a crop, or the subject's face changes proportions without corresponding travel through space, the model has not delivered the chosen camera operation even if the ending composition looks right.
Use long-lens language to direct distance, not blur
A long-lens look is often reduced to shallow depth of field, but blur is only one cue. The stronger direction is observational distance: narrower field of view, reduced near-far exaggeration, fewer background elements, larger distant planes, slower apparent background drift and foreground objects that can occlude the frame. Depth of field then supports the relationship rather than substituting for it.
Do not ask for 135mm, telephoto compression, f/1.4, everything sharp and a cramped location unless the contradictions are intentional. Decide what the audience should feel. A distant camera can suggest surveillance, isolation, elegance or performance observed without intrusion. Protect the subject-to-background scale and let focus falloff serve that point.
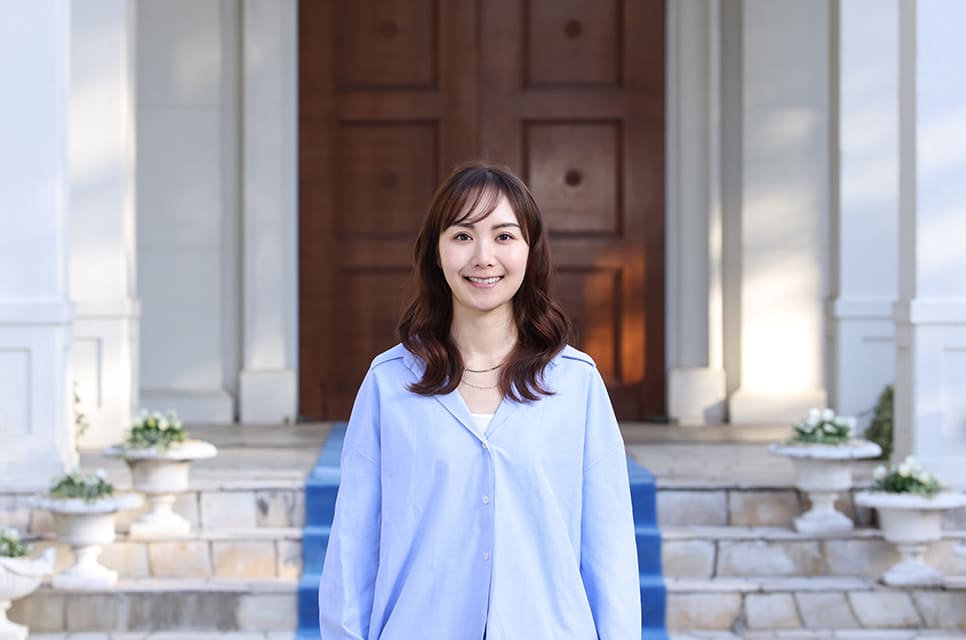
Canon's 135mm example moves the camera to 5.6 metres while retaining a similar subject size. The doorway becomes a dominant plane and far less of the building surrounds the performer. That is the visible relationship to prompt and review. The number is useful shorthand, but the geometry is the acceptance criterion.
Review faces, planes and parallax in three passes
First review the face. Compare apparent nose-to-ear distance, jaw width, forehead, eye spacing and the size of near hands or props. A performance can remain recognisable while its implied camera distance changes. Reject a take when the facial geometry moves between lens families without a motivated camera move.
Second review the planes. Mark one foreground edge, the subject and two background anchors. Compare their scale and separation at the opening, midpoint and closing frame, then across adjacent shots. A room should not breathe, a doorway should not grow between matching close-ups and an over-shoulder foreground should not change distance independently of the camera.
Third review parallax at speed. On a translating camera, near objects should travel across the frame faster than distant objects. On a locked zoom, their relative positions should remain stable. Watch for warped edges, sliding architecture, background planes that accelerate without cause and depth of field that pumps independently of focus. Record the rejection reason against the lens card so the next iteration changes one spatial variable rather than rewriting the whole prompt.
Buy repeatable perspective, not a list of camera words
When evaluating a model or supplier, build a five-shot lens test from one controlled scene: close-wide portrait, neutral medium, distant long-lens portrait, a physical push-in and a fixed-position zoom. Keep subject, wardrobe, set, lighting, duration and delivery format stable. Give every candidate the same geometry-led lens cards and cleared reference frames.
Measure first-pass adherence, facial stability, background-scale continuity, edge integrity, correct parallax, attempts to an accepted take and finishing time. Also record whether camera settings can coexist with first and last frames, whether seeds or references improve repeatability, which controls are literal interface parameters and which are prompt interpretations, and what generation metadata survives export.
The buyer implication follows the craft test. A long menu of shot sizes and camera terms is useful, but it does not prove that a team can hold a viewpoint through coverage or repeat a lens family after feedback. The production value lies in converting the cinematographer's spatial intention into images that remain coherent across faces, rooms, movement and the final cut.
Build
Need a repeatable AI production workflow?
Mike designs the tools, review loops, and publishing systems that make it usable.
Launching a business of your own? Founder Launch OS connects the brand, offer, website and visual campaign in one guided Codex or Claude Code workspace.
Keep reading