The answer: use a six-part lighting card
For a cinematic lighting prompt you can actually review, write six things before generating: the motivated source, its direction, its apparent size or quality, the colour relationship between sources, the exposure priority and the rule for what may change through the shot. Keep each one observable. If a source, shadow, skin value or practical changes, the result should give you a story reason—not merely a different kind of glow.
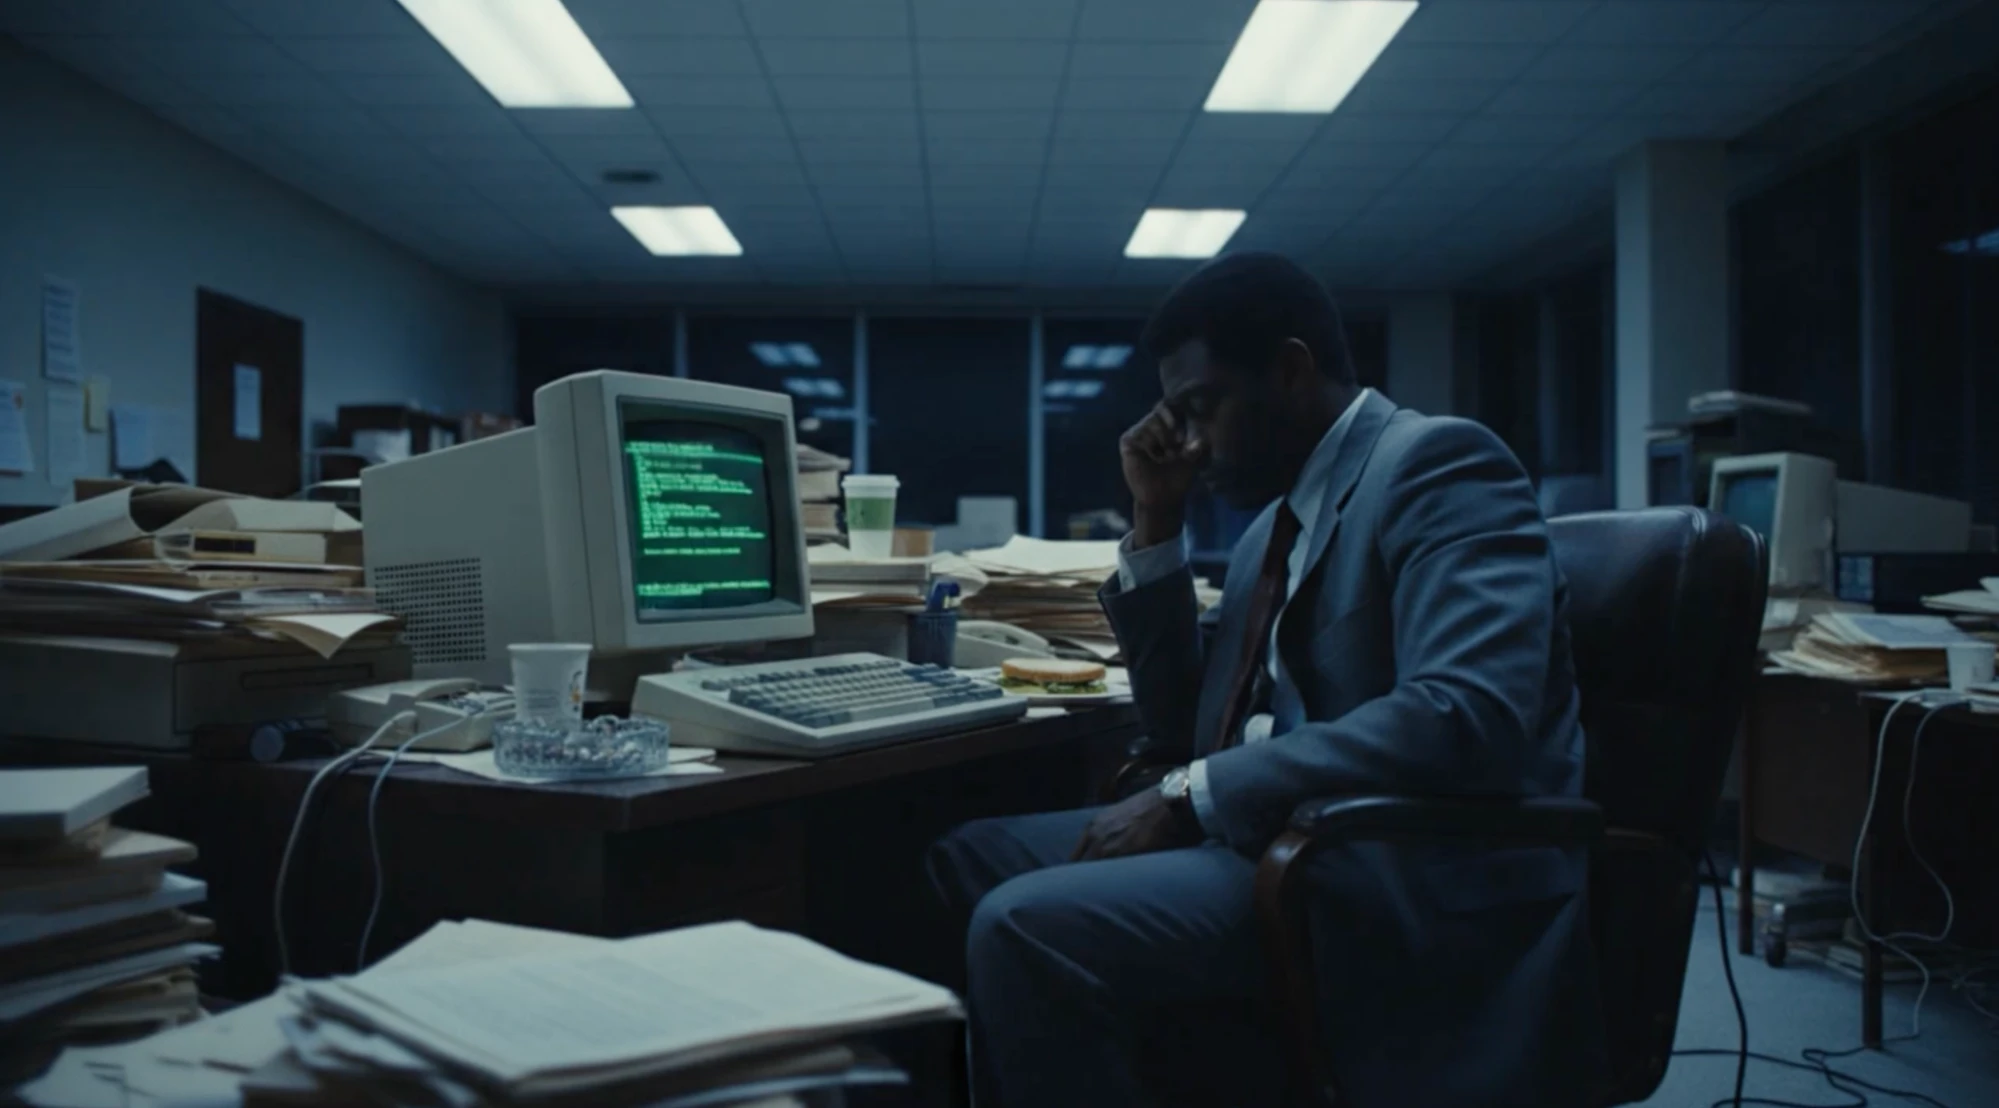
The office frame above comes from Google Cloud's official Veo 3.1 prompting guide. The example does something more useful than asking for cinematic light: it names harsh fluorescent ceiling panels and the green glow of a monochrome monitor. We can see where the light is supposed to come from, what colours compete, and why the face falls into shadow.
That does not make the image a measured lighting diagram. The published example provides no fixture output, distance, exposure value, lens transmission, sensor response, or colour-pipeline metadata that a crew can recover. It is a visual target. The craft is to make that target specific enough to judge without pretending it contains production facts it never captured.
Words such as cinematic, moody, soft, dramatic, glossy, or natural can start a conversation. They cannot hold a scene together. Two clips may satisfy the same adjective while moving the key from left to right, lifting the fill, changing night into dusk, or making a practical lamp illuminate a face it could not reach. Use the free lighting diagrams to compare that language with real source placement and compromises, then judge the result against the authored light in the cinematography work.
The six-part cinematic lighting cheat sheet
Before generating coverage, write a short lighting card for the scene. Name the motivated source, its direction relative to the blocking, its apparent size or quality, the colour relationship between sources, the exposure priority, and the condition that may change. Those six fields turn taste into something the director, cinematographer, designer, editor, and model operator can inspect together.
For the office, that card might read: ceiling fluorescents provide a broad cold top light; the monitor adds a local green lift from frame left; the windows remain unlit night; the face stays one stop below the paper on the desk; the background falls away without losing the practical panels; only the monitor intensity changes when the screen updates. The language describes relationships in the image rather than claiming a real lamp, stop, or meter reading.
Keep blocking on the same card. If the performer crosses the room, turns through the key, or sits beside a practical, say how the light should behave. This is the lighting version of using shot language: the prompt is strongest when it tells us what must remain legible, not when it accumulates photographic nouns.
Separate identity reference from lighting reference
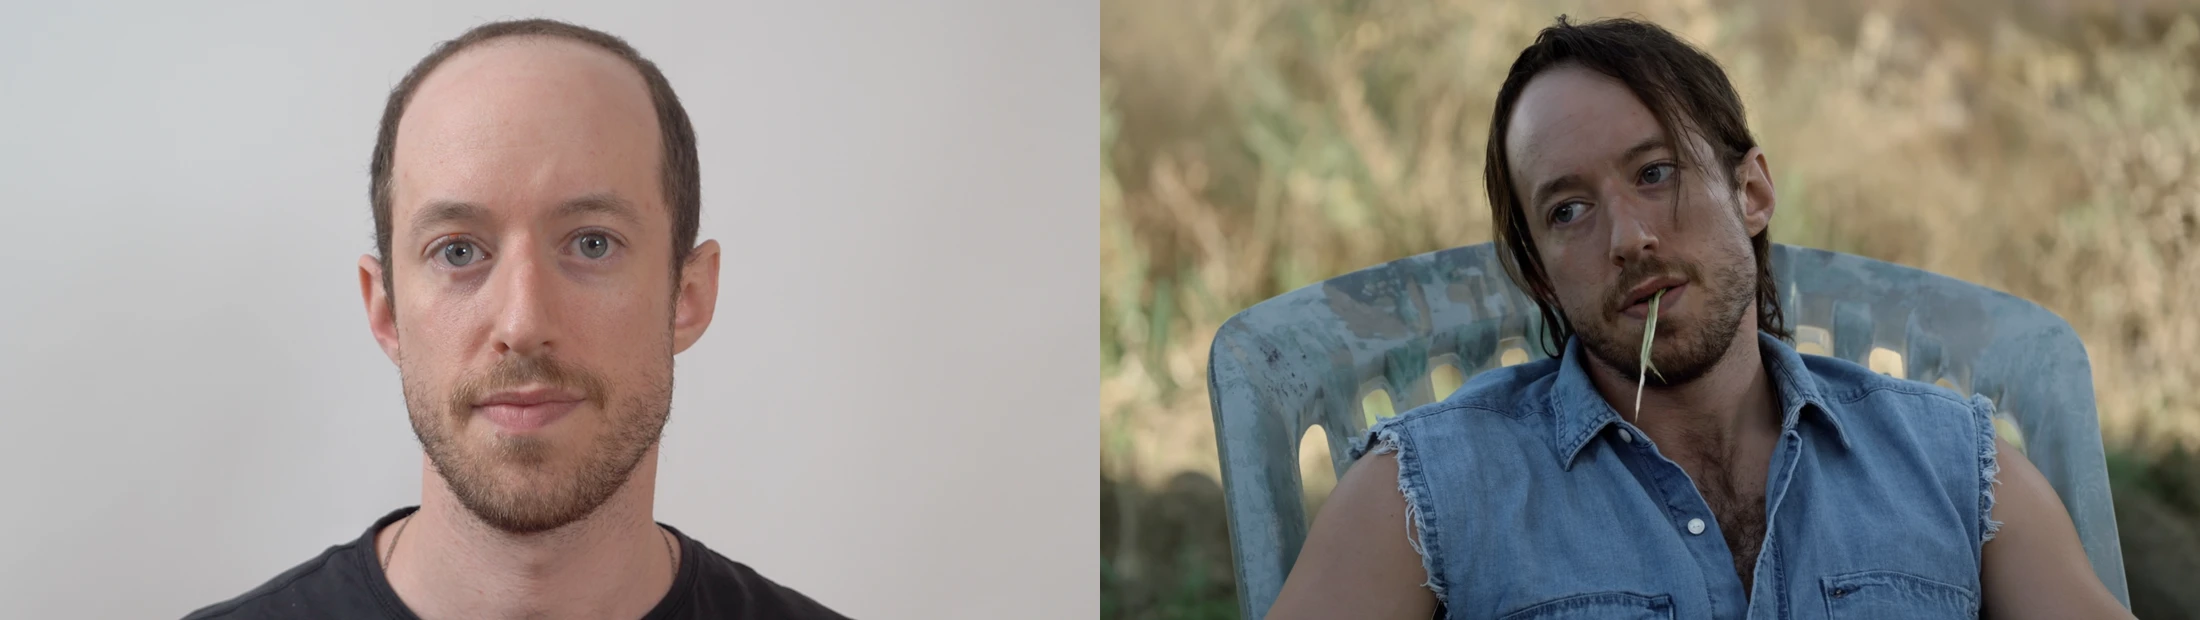
A character reference answers who; it does not automatically answer how that person is lit. Runway's Gen-4 References guide recommends an evenly lit, neutral character image as a blank canvas. Its own example then carries that identity into a different location, costume, pose, and lighting condition.
That separation is useful. Keep a neutral, rights-cleared identity reference for features, costume, and proportion. Keep a separate scene look frame for key direction, contrast, palette, atmosphere, and practicals. When the tool accepts several references, label their jobs in the prompt. When it accepts only one, decide which uncertainty matters most and build the missing information into an approved first frame.
Do not keep feeding a heavily stylised portrait into every angle and call the result continuity. A close front key can become an impossible side key in the reverse; a rim can cling to the performer after the camera crosses the axis. The scene map, not the portrait, decides where the light belongs.
Let the first frame carry the look
Runway's current Image to Video guide says the input image establishes composition, subject matter, lighting, and style, while the text prompt should focus mainly on motion and temporal progression. That division is a strong lighting discipline: approve the light in a still, then ask the motion model to preserve it while something changes over time.
Build one approved look frame for each genuinely different angle, not one attractive image for the whole scene. The wide, close-up, reverse, insert, and moving master see different parts of the space. Each frame should inherit the same source map and exposure priorities while translating them for its camera position. This is where lens intent, blocking, and lighting meet.
Keep the motion instruction clean: the performer leans into the monitor glow; the papers stir under the ceiling vent; the camera makes a slow lateral move; the fluorescent panels remain steady. Re-describing the room as warm golden-hour cinema in the motion prompt invites the model to renegotiate the lighting target the frame was meant to hold.
First and last frames still need motivated continuity
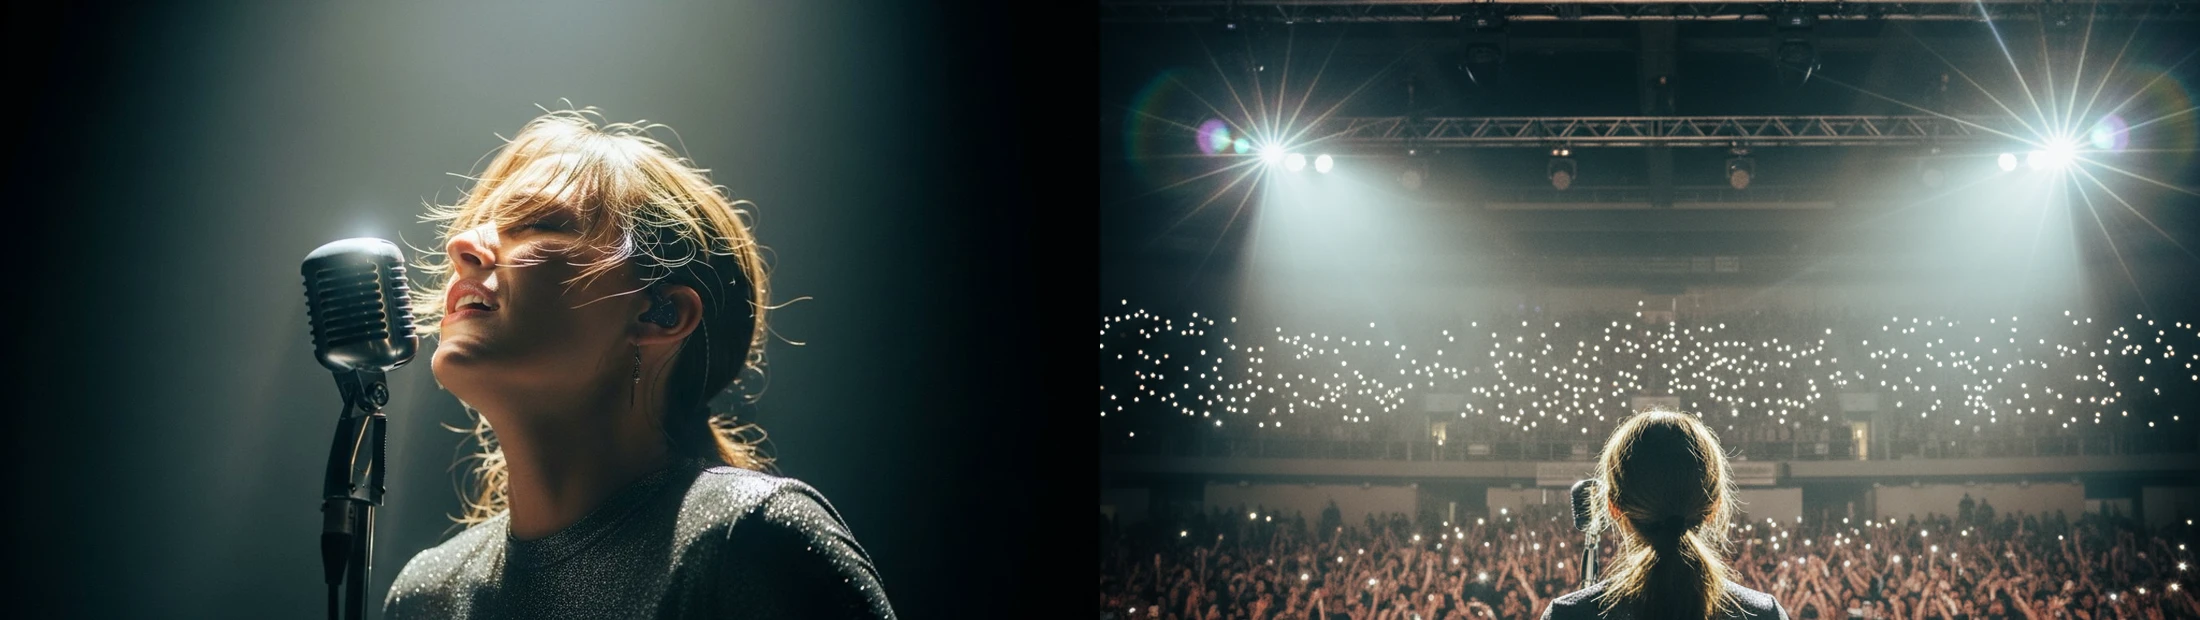
First-and-last-frame controls can define the endpoints of a move, but they do not excuse incompatible light. Google's workflow uses Gemini 2.5 Flash Image to make a singer under a single frontal spotlight and a reverse view facing the crowd and visible stage lights, then gives both stills to Veo 3.1 for a 180-degree arc. The change can make spatial sense because the camera reveals the sources that become backlight. The generated middle still has to earn that change.
Compare the endpoints before submitting them. Track the key direction on the face, the position of visible fixtures, the level and colour of the audience, the density of atmosphere, flare, and the exposure of the costume. If the end frame introduces a source, decide when it becomes visible and what it should do to the performer as the camera crosses around her.
Adobe's June 2026 keyframe guidance is a reminder that controls are mode-dependent: adding a first frame disables some shot-size, angle, style, composition, and transparency options, and adding an end frame also disables motion controls. The operator has to know which control is carrying the light and movement in that generation, then record the actual recipe rather than a feature wish list.
Change one lighting variable at a time
Test the scene as a matrix, not a slot machine. Hold the model, mode, seed where available, references, frame, motion, duration, and aspect ratio constant. Change one field: key direction, softness, colour contrast, practical level, atmosphere, or exposure priority. Put the outputs side by side and keep the change only if it improves the story as well as the frame.
Prompt enhancement can quietly widen the test. Runway says its enhancer may add camera angles, lighting, texture, motion, and mood. Read the expanded prompt before generating and save it with the output. If an assistant has inserted sunset flare into a fluorescent office, the test is no longer measuring the instruction you thought you wrote.
Editing modes need the same discipline. Luma's Ray3 Modify guide says a character reference adapts to the style and lighting of the input video, while lower modify strength is intended to adhere more closely to existing shapes for subtle changes such as relighting or recolouring. Higher reimagine settings can also loosen geometry and camera behaviour. Run a relight as its own controlled pass; do not combine it with a new performance, lens, background, and move, then guess which control caused the failure.
Review the light before the polish
Review every candidate at the first frame, midpoint, and last frame, then watch it at speed. First check source continuity: did the key stay on the correct side, did the practicals motivate their spill, and did shadows react when bodies or objects crossed the beam? Then check exposure continuity: face, costume, important prop, window, practical, and background separation.
Next inspect temporal behaviour. Watch for pulsing practicals, crawling shadow edges, highlights painted onto moving skin, atmosphere that brightens without a source, reflections that lag behind the camera, and a rim that jumps between shoulders. A still can look finished while the light fails as soon as the performer turns.
Make a contact sheet of the checkpoints and compare neighbouring coverage on a neutral display. Mark each requirement pass, fail, or intentional change. Review geometry and light before texture, grain, halation, flare, or grade. The order matters: surface polish is very good at hiding a broken source for the first viewing and very bad at fixing it in the edit.
Buyers should approve the lighting promise, not the glow
A generated lighting study can help a team choose mood, time of day, source motivation, contrast, colour separation, blocking, and coverage before a location or package is confirmed. It cannot prove the fixture count, output, power, rigging, exposure, skin rendering, dynamic range, or schedule required to reproduce the image. ARRI's lighting handbook belongs to the next step: turning an approved intention into practical equipment and technique.
If the work will become live action, label the frames lighting targets or generated previsualisation and test the chosen direction with the cinematographer, gaffer, camera, lens, colour pipeline, performers, costume, production design, and location. If the final work stays synthetic, keep the same discipline in the shot log: model and mode, prompt, enhanced prompt if used, references and rights, seed or settings, approved take, known defects, and reviewer.
For a buyer, the useful evidence is not that every frame looks expensive in isolation. It is that the scene has an authored lighting idea, the sources behave through blocking and camera movement, the coverage cuts together, and the team can explain what is a visual target versus a production fact. That is a stronger promise than cinematic lighting, and a more honest one.
Build
Need a repeatable AI production workflow?
Mike designs the tools, review loops, and publishing systems that make it usable.
Launching a business of your own? Founder Launch OS connects the brand, offer, website and visual campaign in one guided Codex or Claude Code workspace.
Keep reading